
Sunroom Project.
The origin story of this sunroom project, well, it’s a long one. Part of it has to do with needing more space for living, part of it is about needing more space for plants. They’re basically the same thing, right? I’d never really paid much attention to screened porches vs. sunrooms. Now I find myself checking out every house I pass to see if there’s a screened or enclosed option, a concrete slab or a door that leads to the back yard. I got to thinking and realized that this screened in porch could be put to better use as an office, small sitting room, or plant zone. Regardless of the reason for wanting this sunroom, I thought it was worth sharing the journey, not just because I love a transformation, but because this would have been an unachievable goal without a few key points. I had two companies come out to provide estimates. One came in at over ten thousand dollars and the other never even sent the promised quote. I can be a bit…particular…when it comes to how I see the finished product, but that doesn’t mean it’s a lost cause. In my mind, I had something closer to two thousand dollars in mind as the budget for this project. No, I didn’t expect either of those quotes to come back at $1,999, but I thought it was important to do my research, get some ideas and hear some professional opinions. I wasn’t terribly shocked to see that close to 75% of the total cost of the quote was labor. That means my estimation of around two thousand dollars wasn’t too bad. With the bulk of the cost coming from labor, that leaves only a couple of options to make my dreams reality. Either convince a qualified professional relative to provide expertise and labor, or do the job alone. It ended up being both. I should say that the close relative who has advised and built on this project is a licensed professional, but I am not. I defer to his plentiful wisdom, creativity, and have immense gratitude for his willingness to help. He has made the critical decisions and been kind enough to bear my vision in mind while doing so.
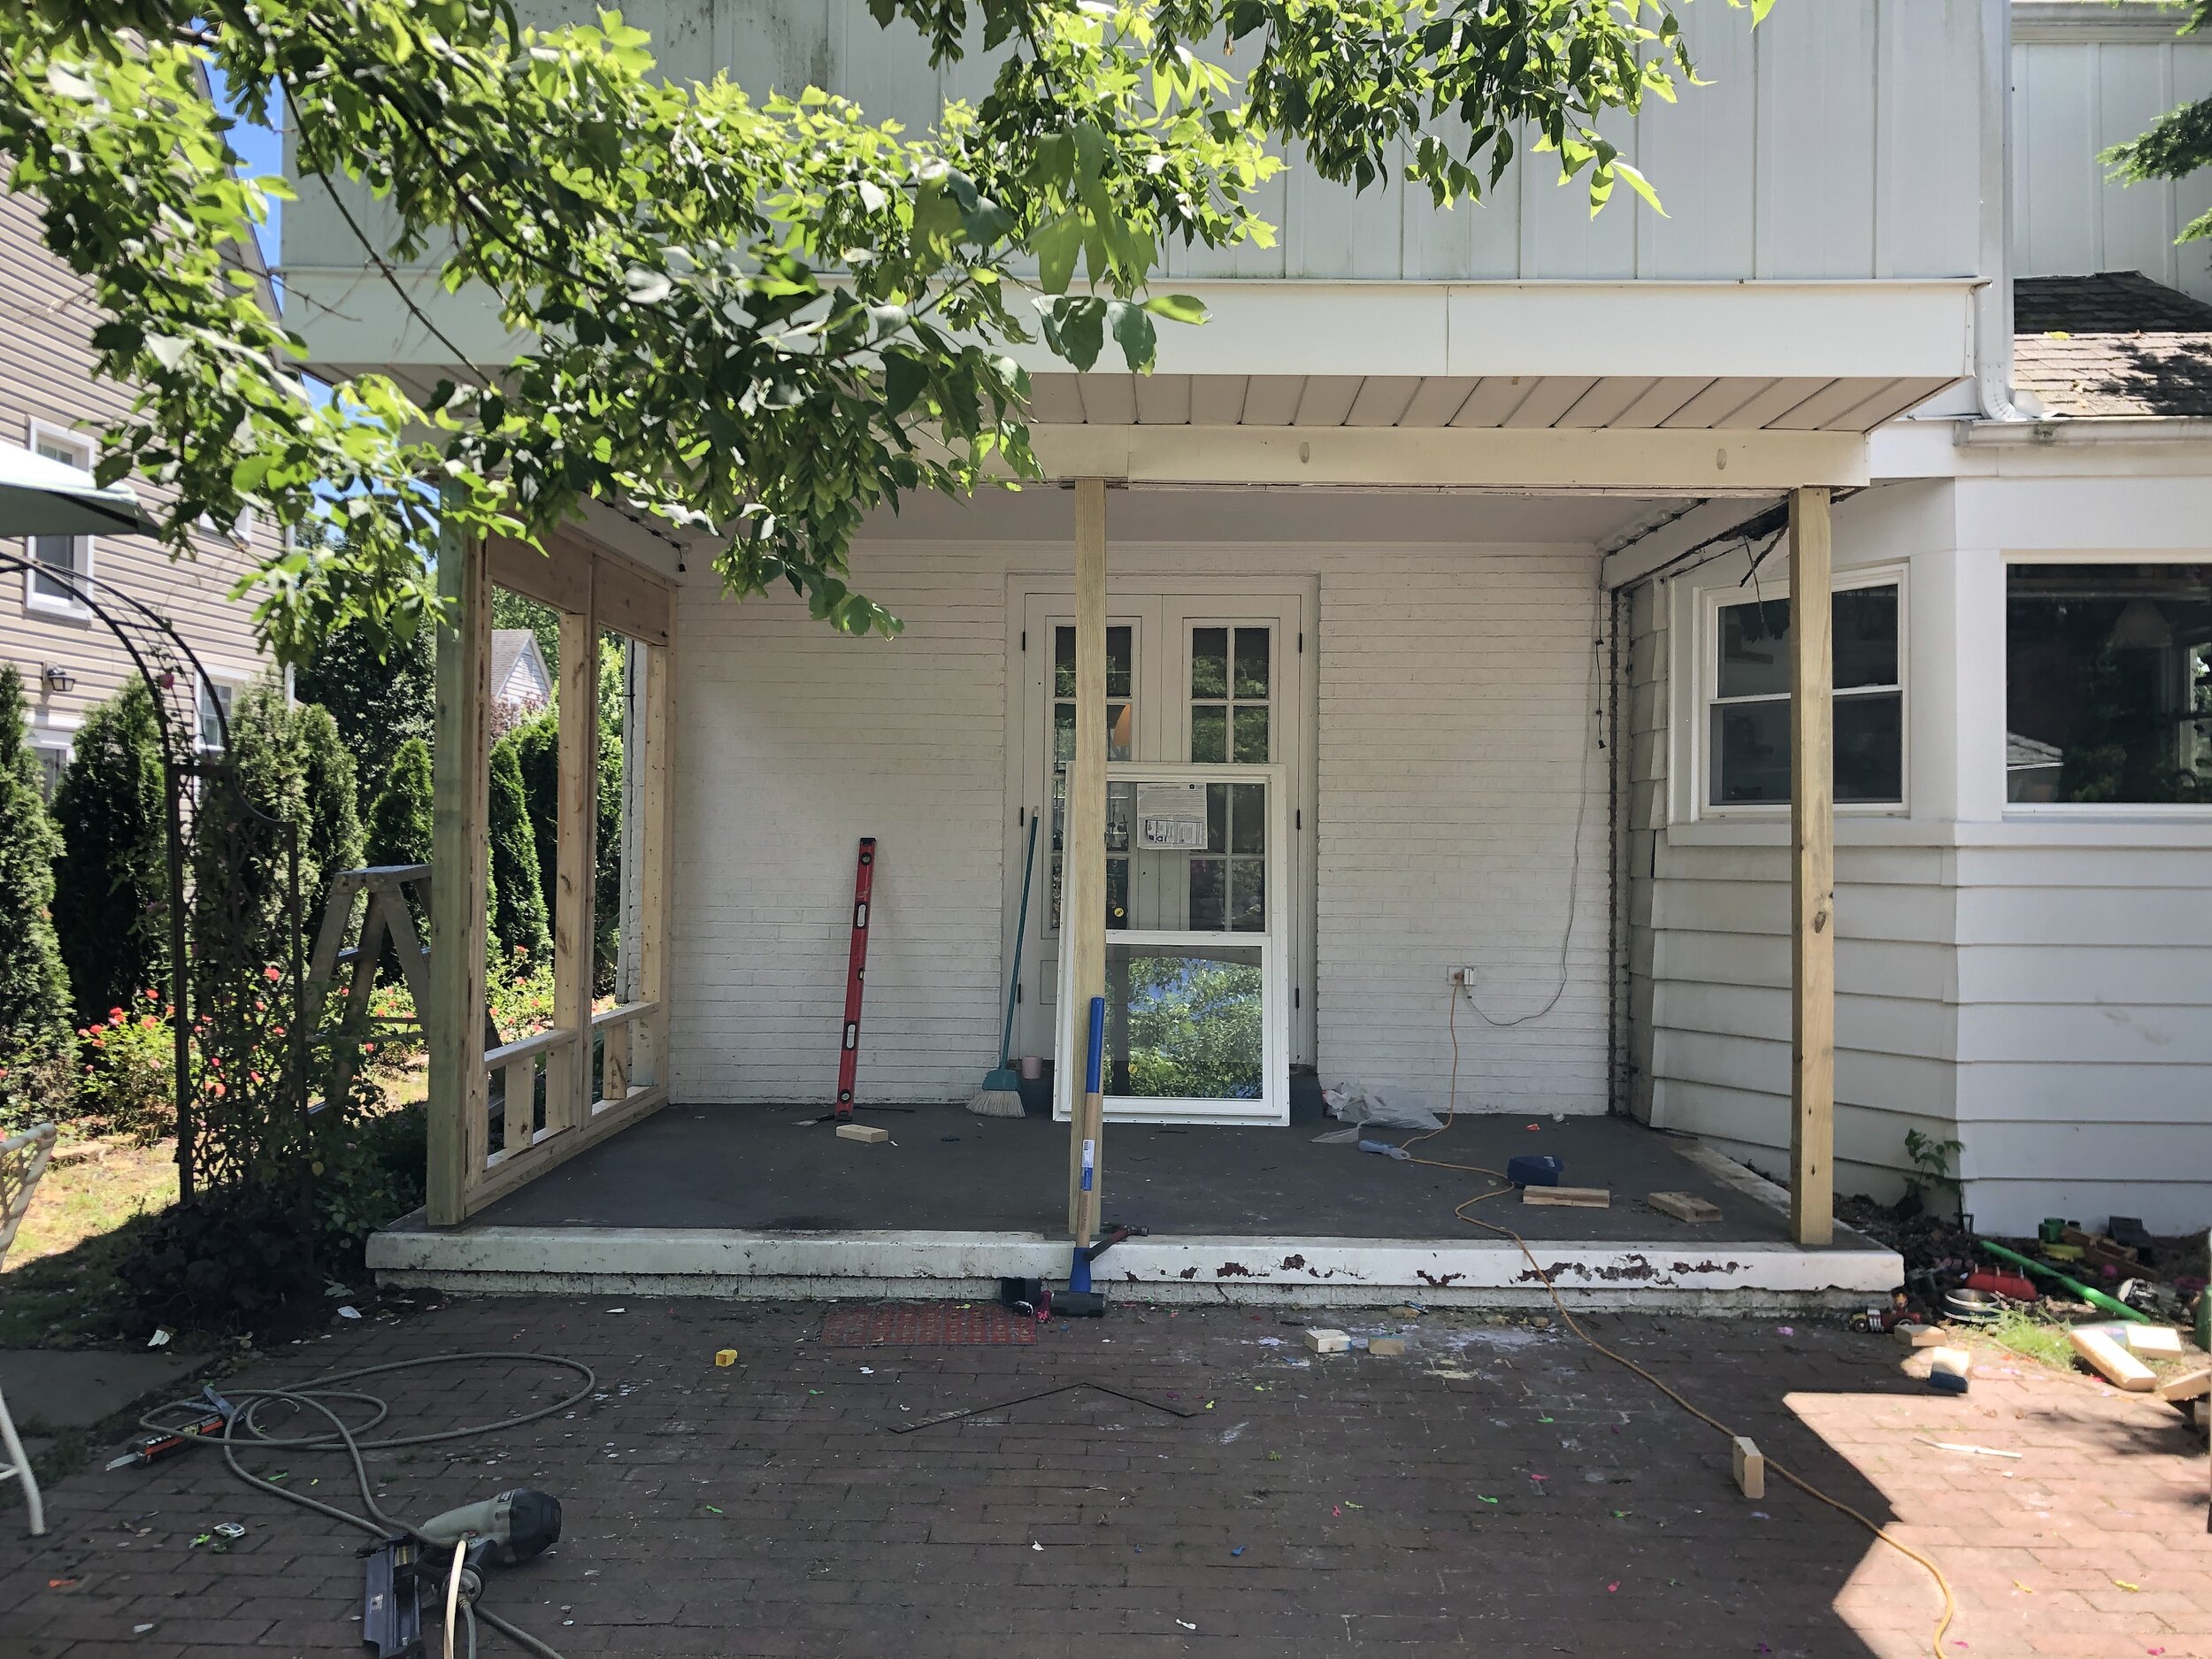
Let’s start at the beginning. In case you need a reminder, this is the before photo.

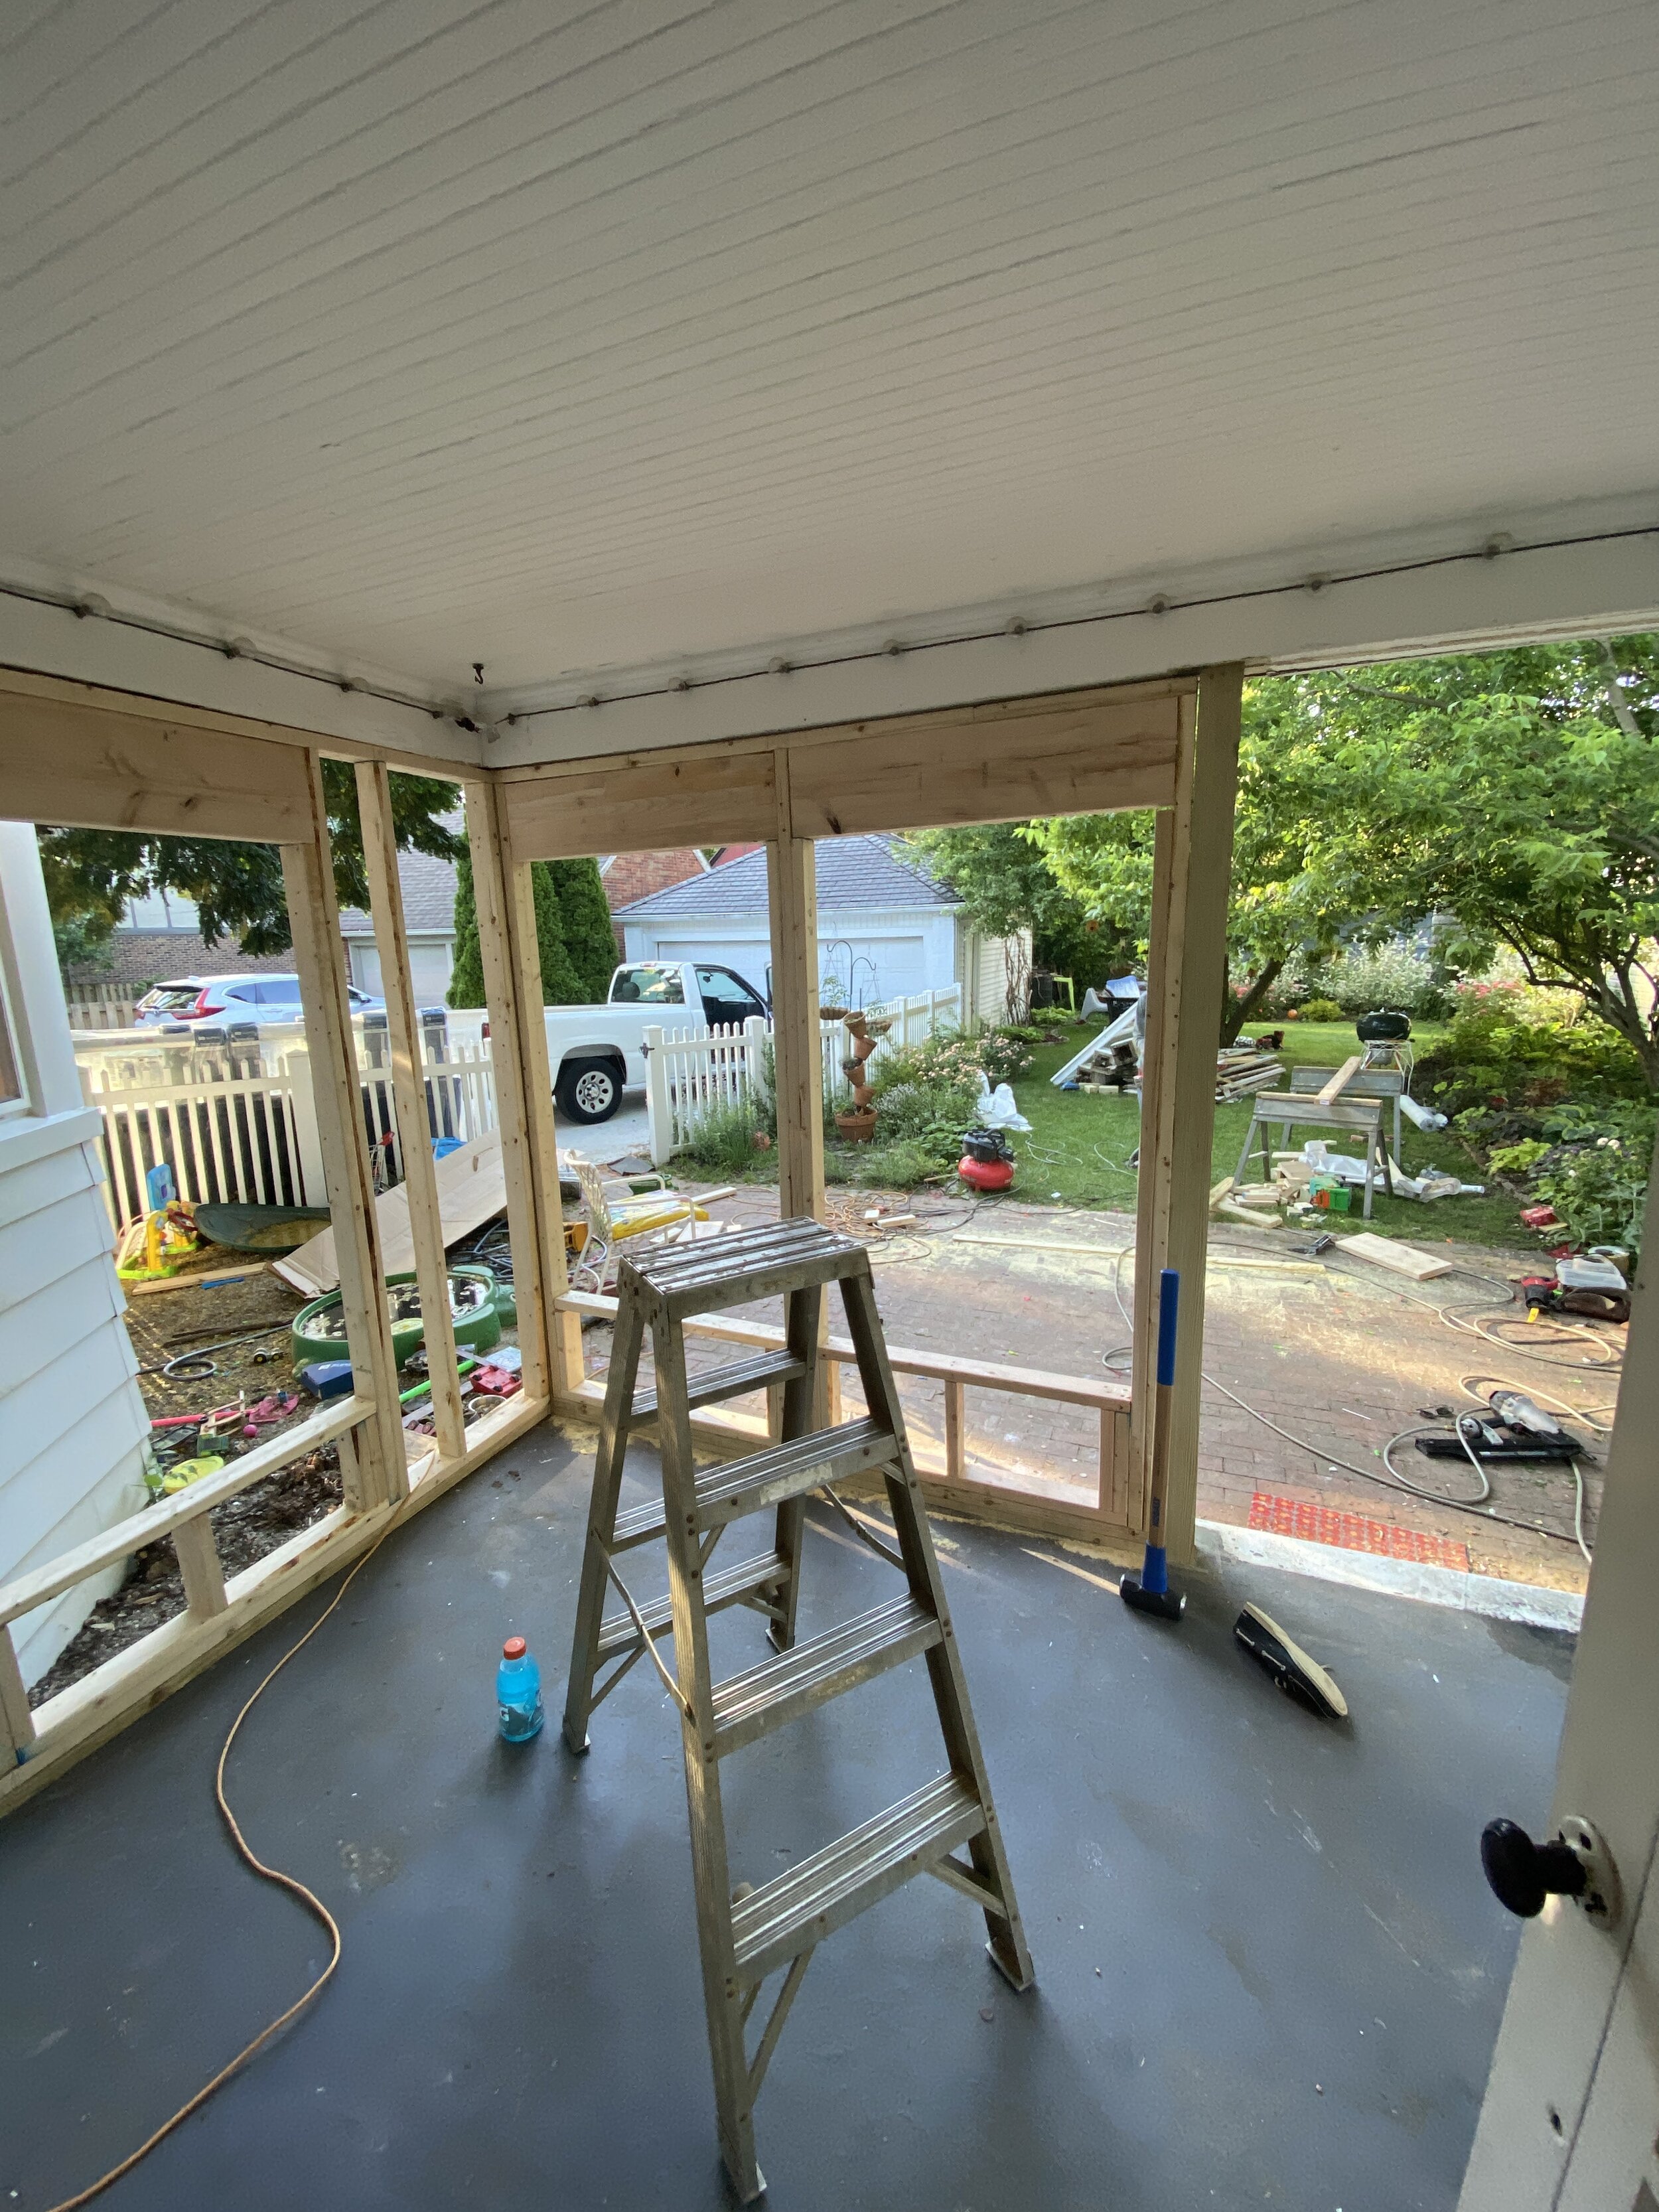
It had some good bones, but not much else going for it. That was the thought, at least. It turned out that one of those three bones, the one on the right, was rotting and needed to be replaced. The three support pillars remained in the same places, mostly due to the fact that I had designed the room around them. So the screens were removed, the door removed, and all casing around the support beams was removed and fresh beams were installed. It was then time to begin framing. Already major improvement.

The framing continued. It took about half a day to remove all the existing materials and begin replacing the support beams and a full day to replace the remaining two beams and frame the whole room.
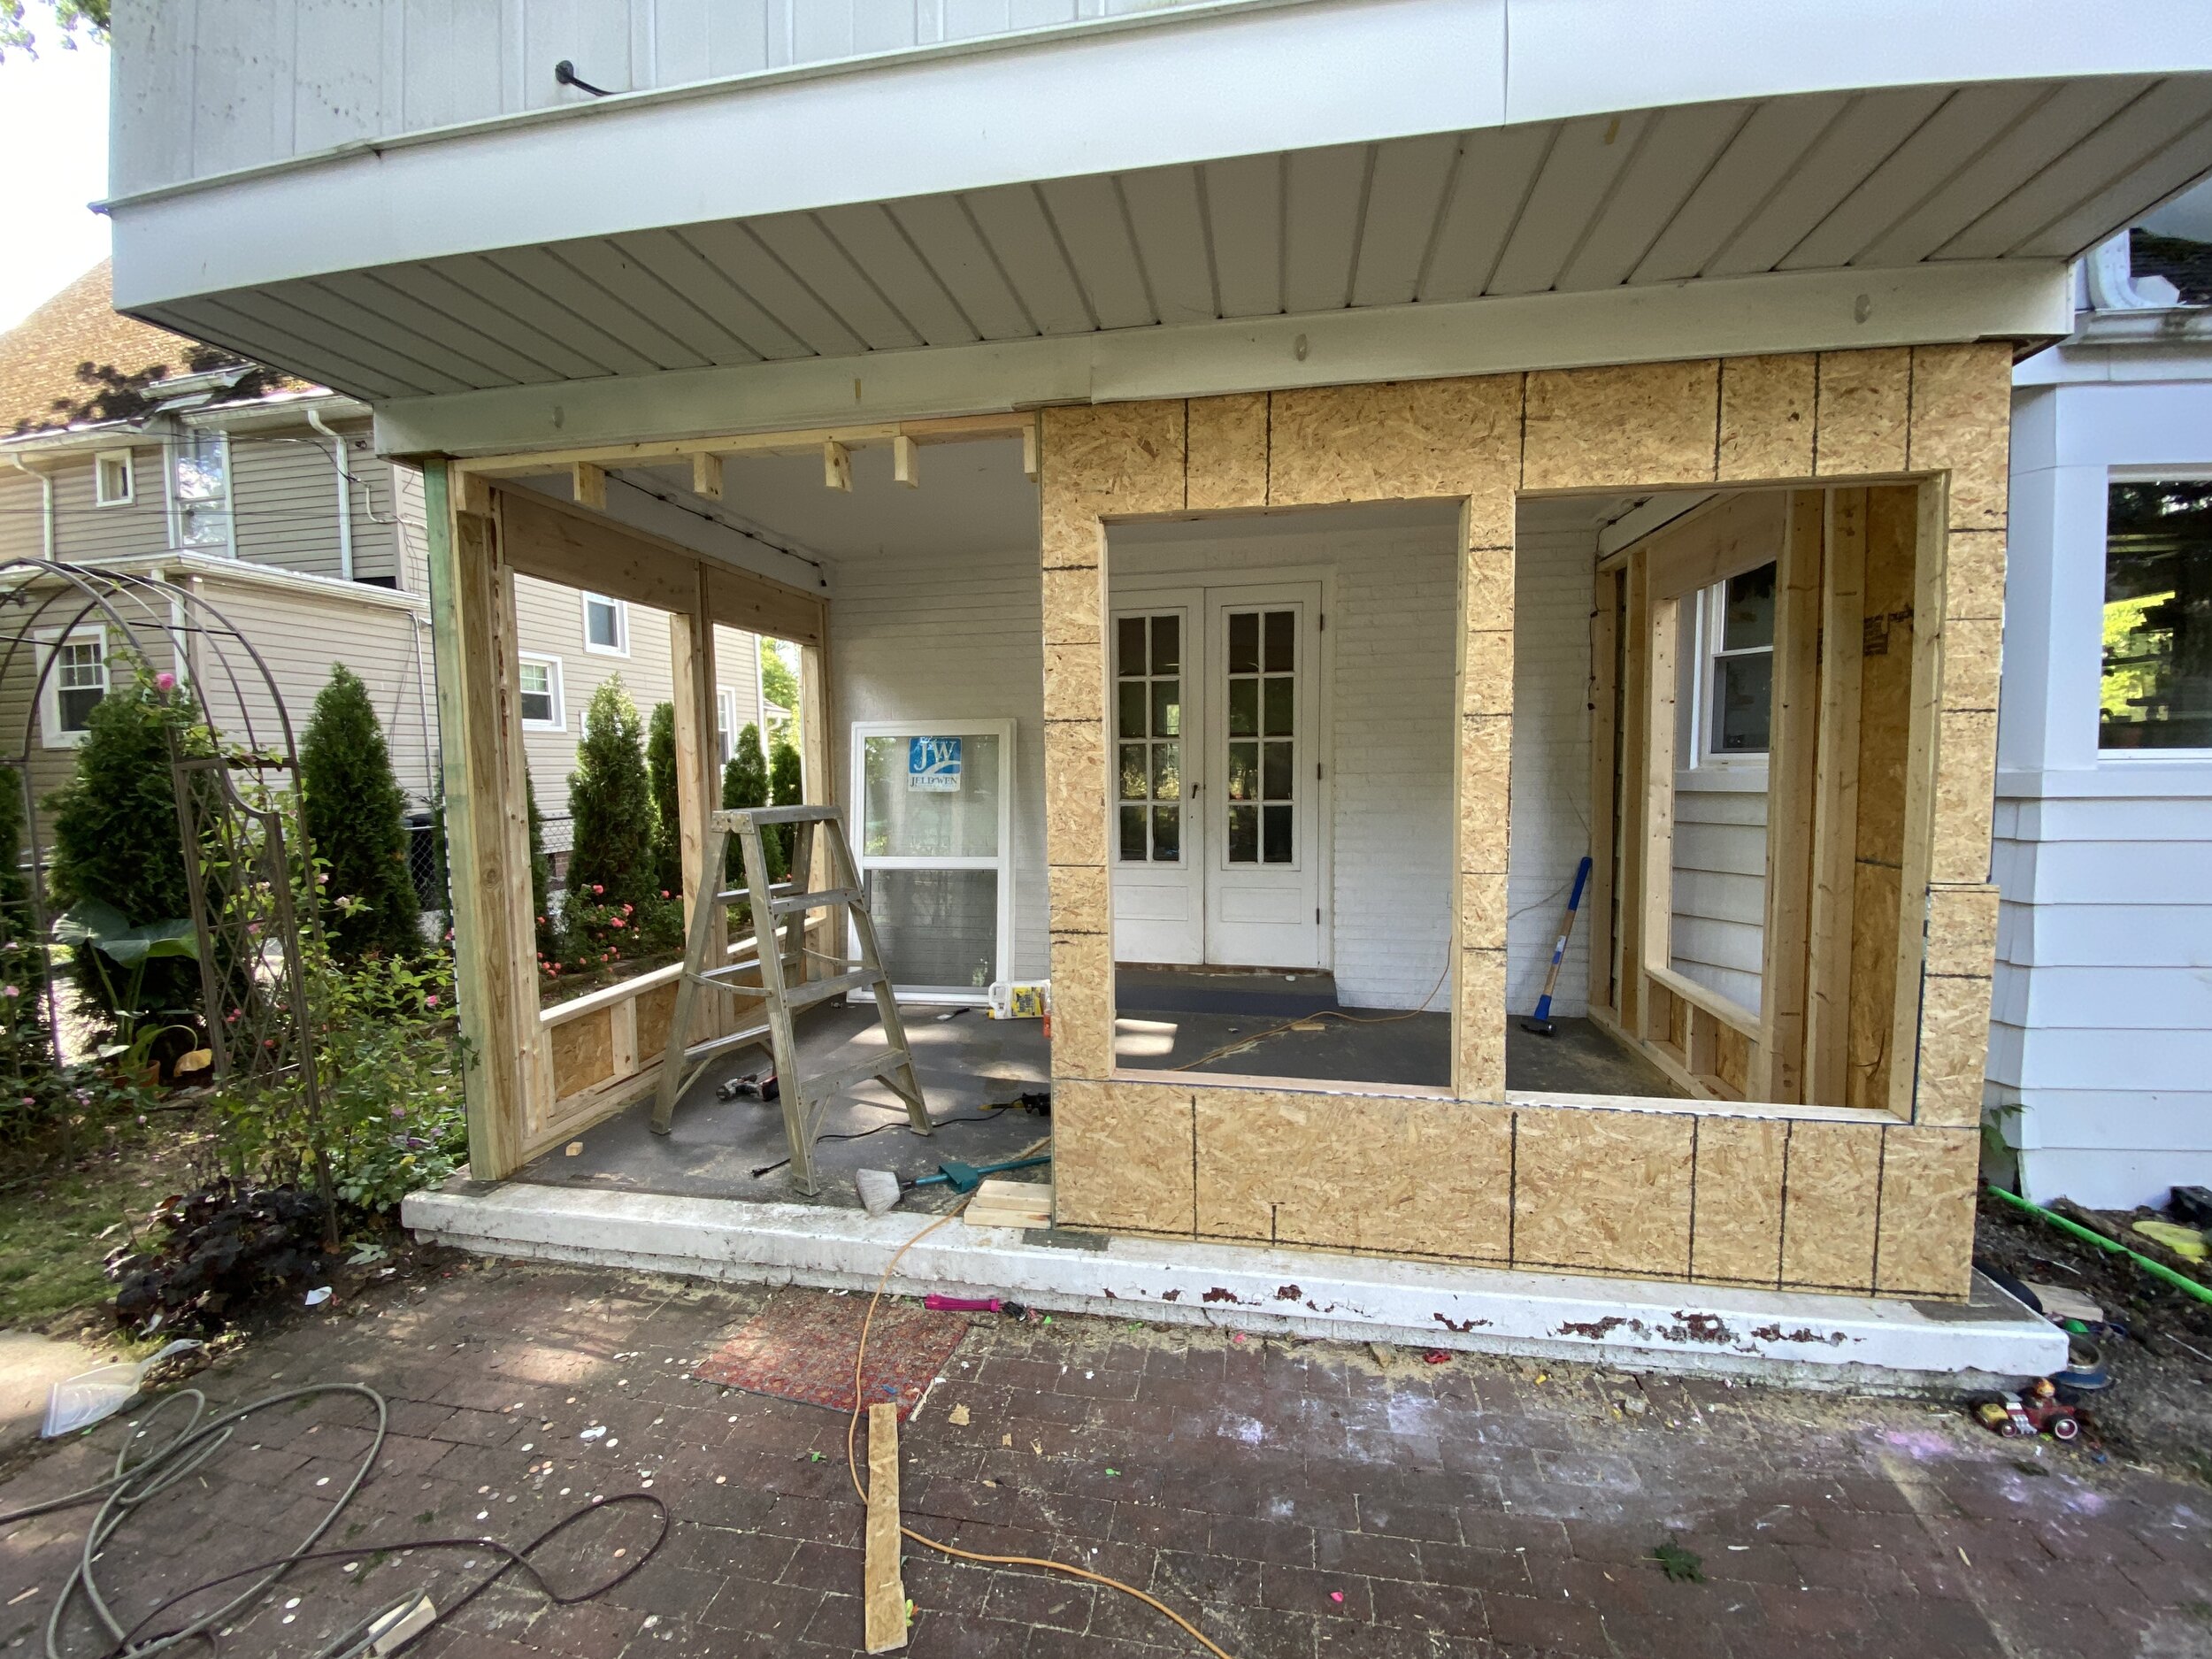
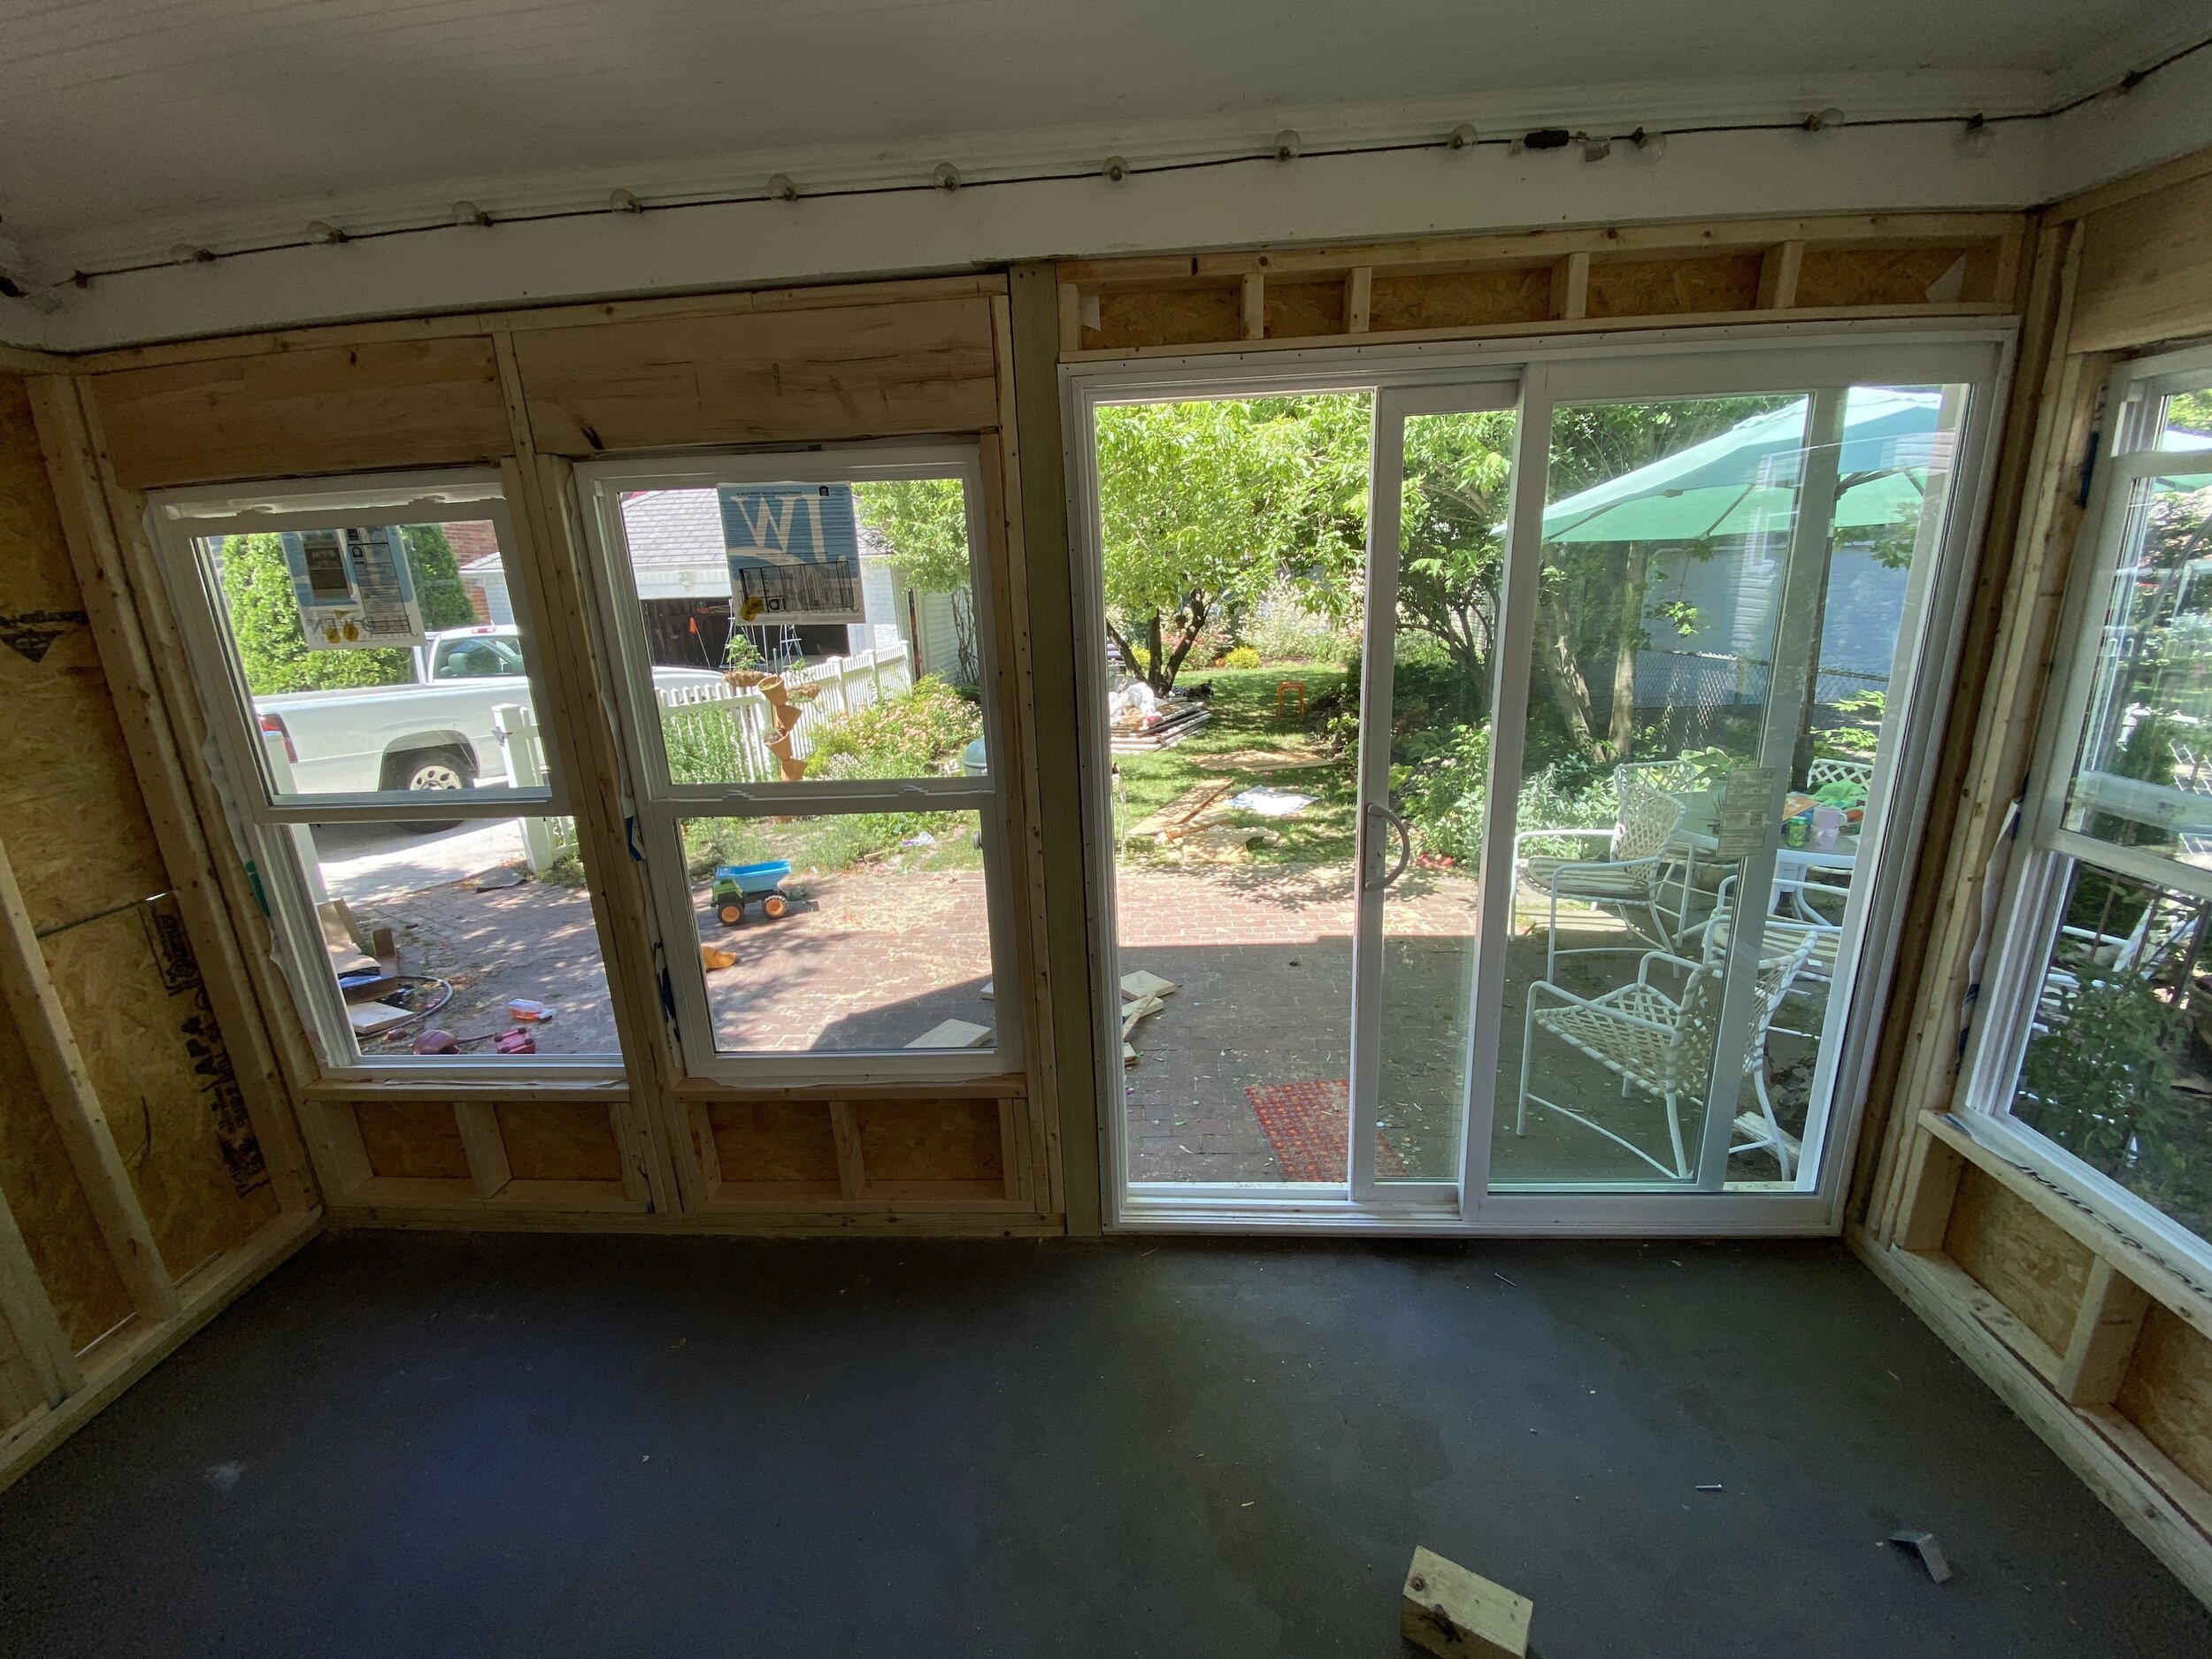
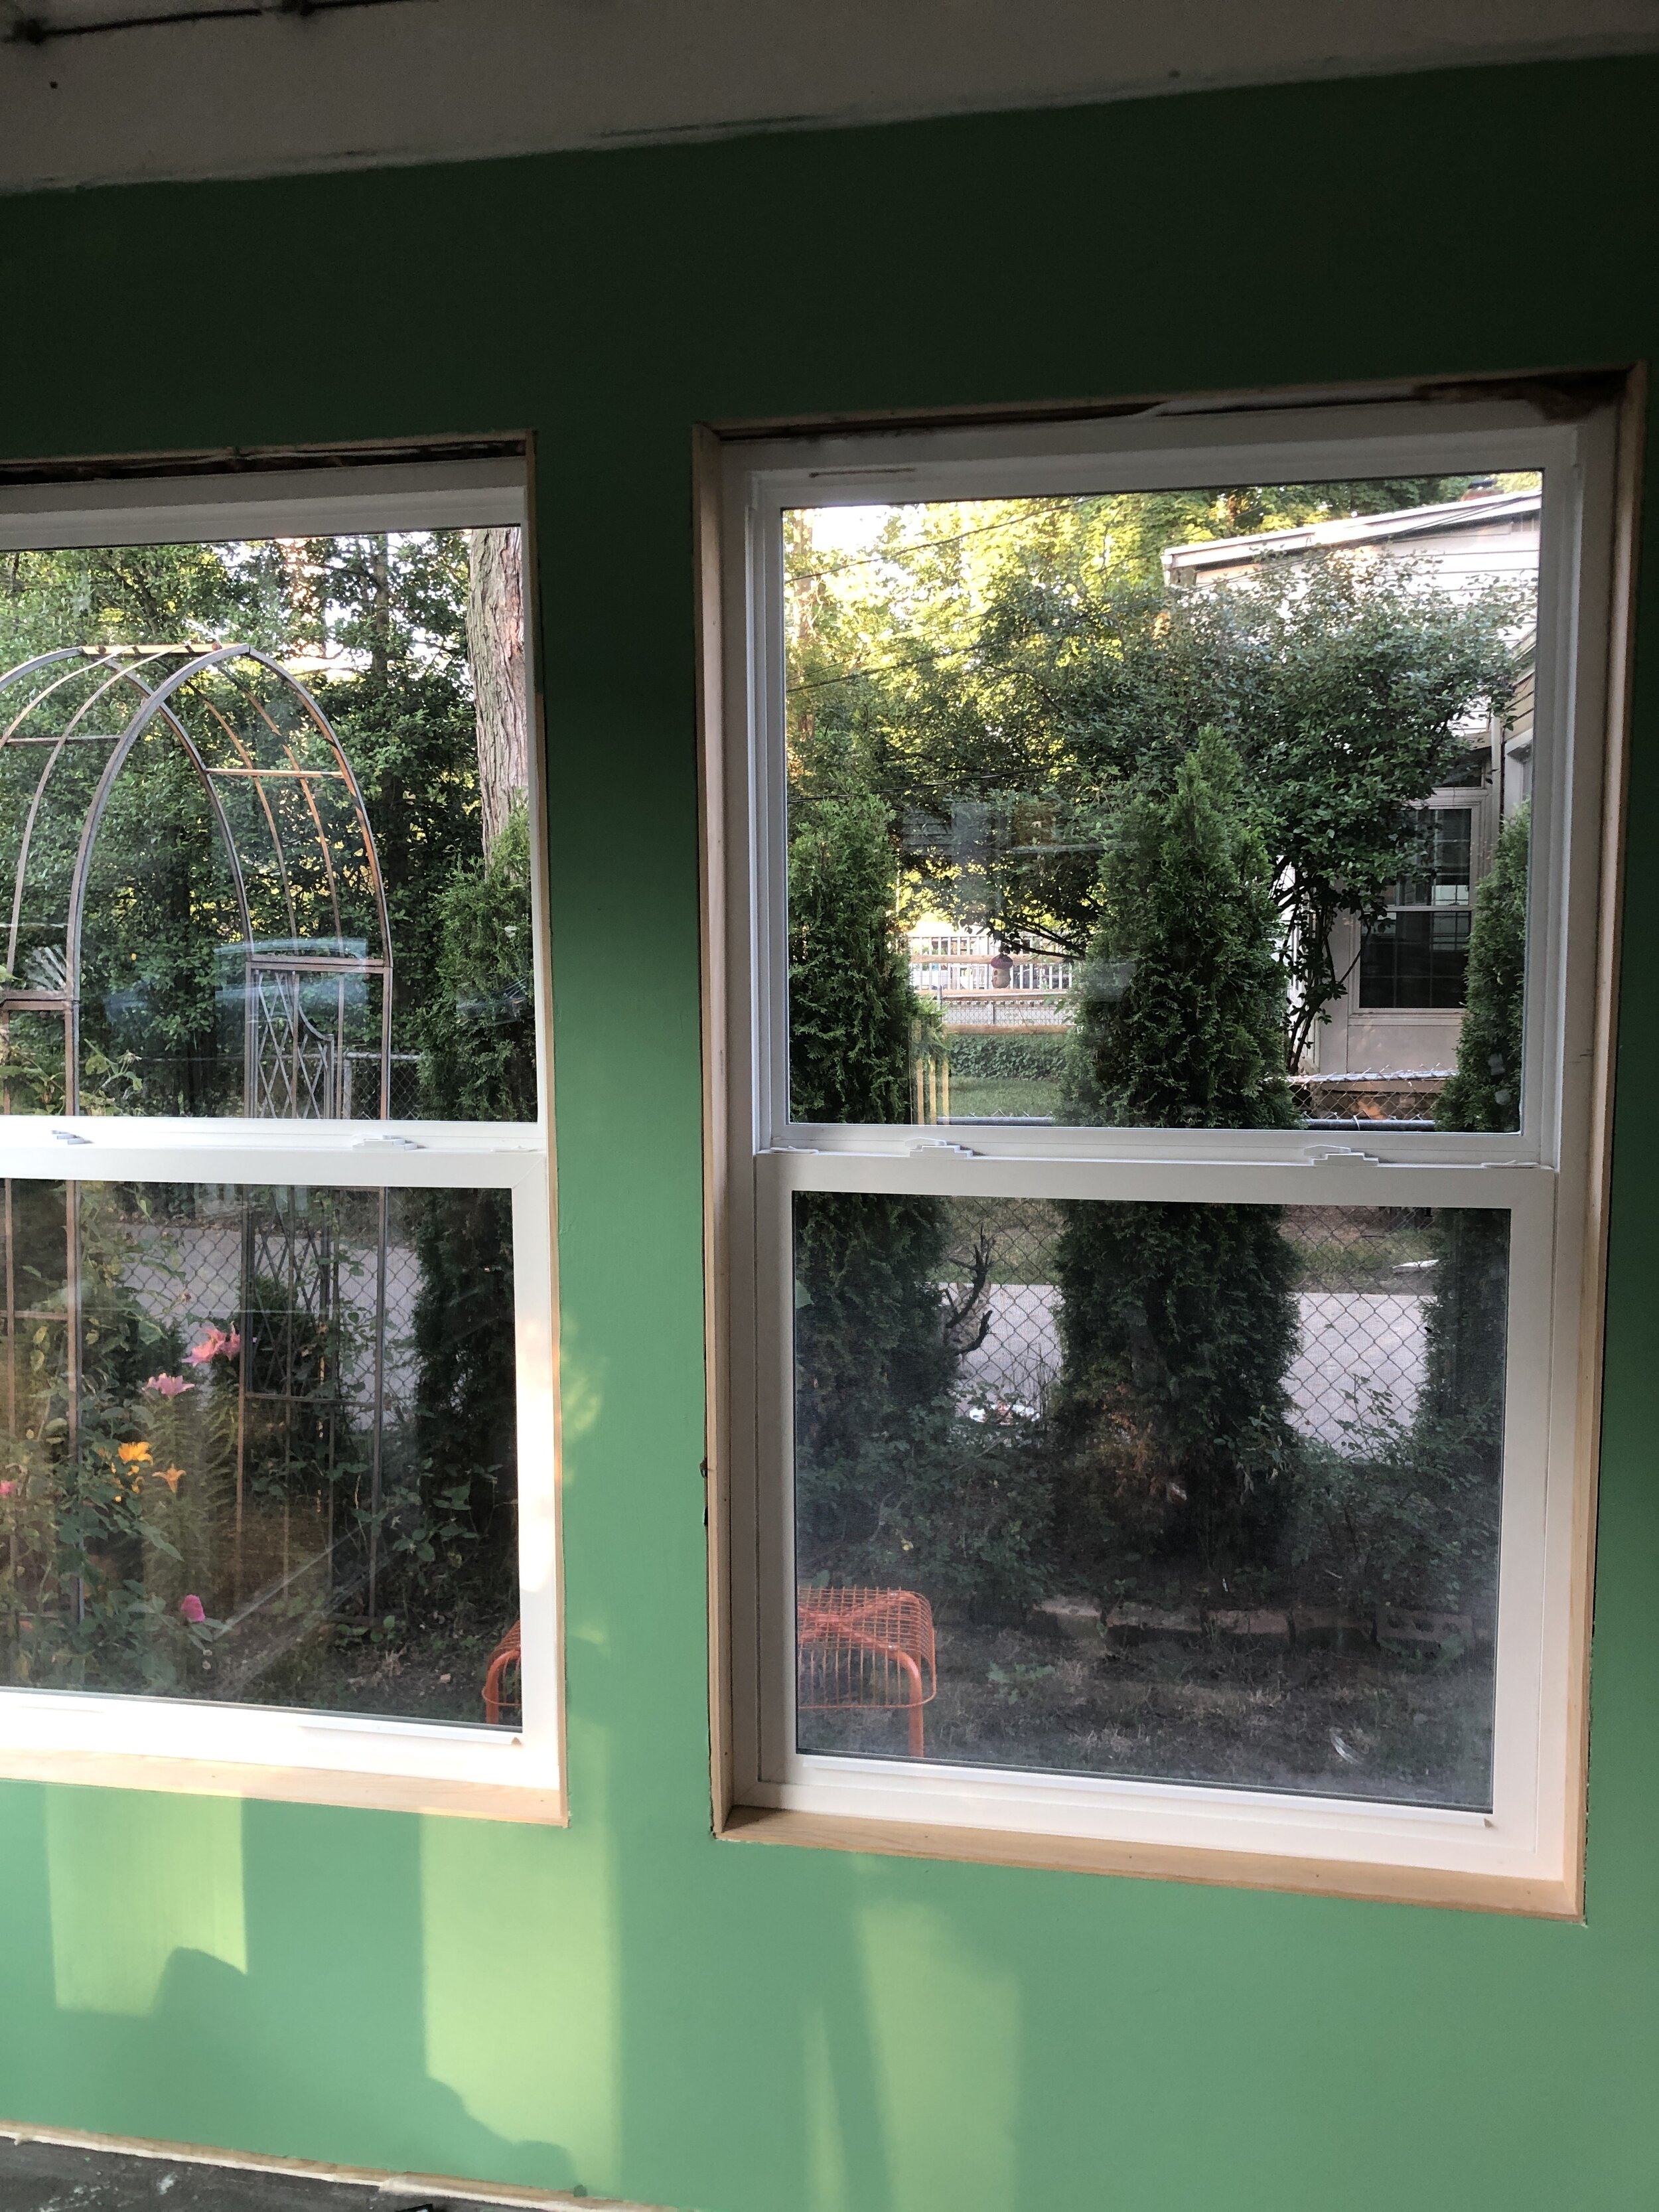
The next morning, it was time to cover the frame with wood, house wrap and install the windows. I chose the windows from Menards, JELD-WEN Better Series Vinyl Single Hung Window. I chose these because they were the largest and highest quality window I could find for the best price. I took advantage of the Menards 11% rebate, which will later be applied back into this project, so each window will come out at roughly $137 plus tax. I would’ve loved to do double hung windows, but I had to make it fit the budget.

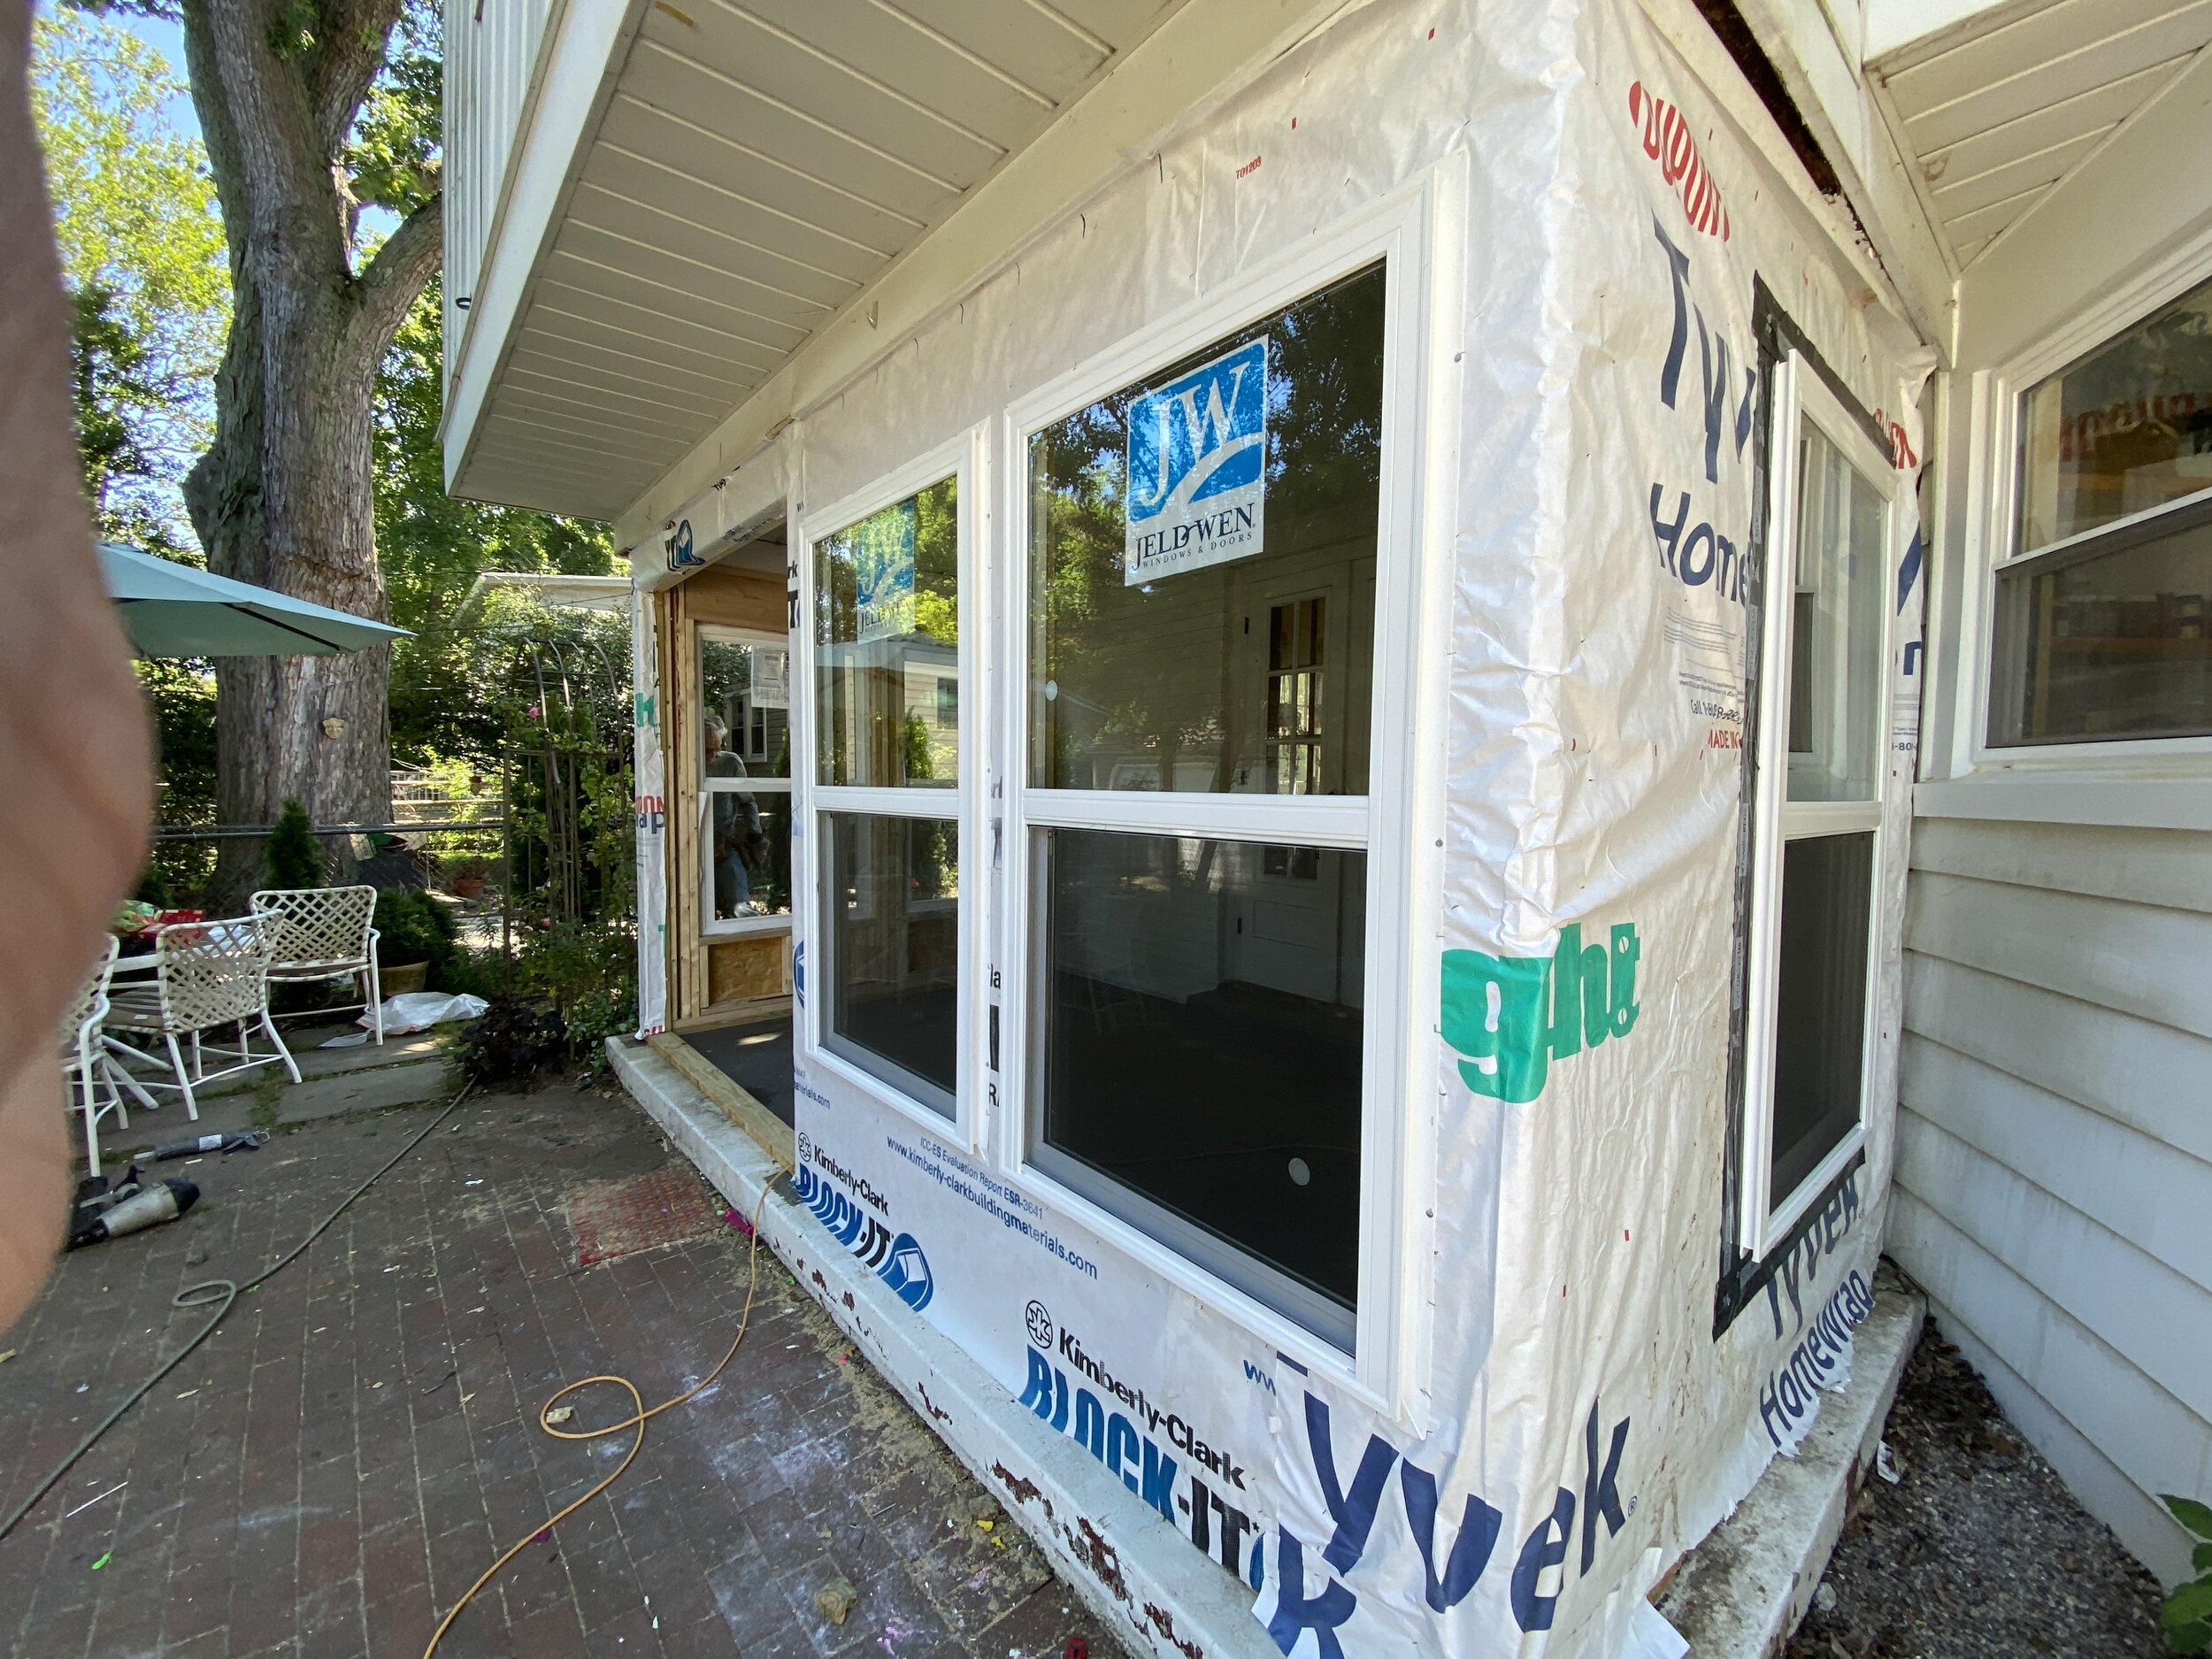
Then, after quite a bit of toil, the sliding door was installed. I chose this particular door, ReliaBilt’s Clear Glass White Vinyl Reversible Double Door (72 x 80) from Lowe’s, for a few reasons. First, it has a lock and key for access from the outside, so this door can be used as an entry point to the house. Second, it is reversible, so the door can open from the left or right based on how it’s installed. Third, it was a good price at $298 before tax. I was looking for a deal. There was definitely some struggle installing this door. It didn’t come with directions on how to utilize the reversible option, so there was a little bit of trial and error and a lot of scouring the Lowe’s community forum to read input from others who had purchased this door and encountered the same difficulties.
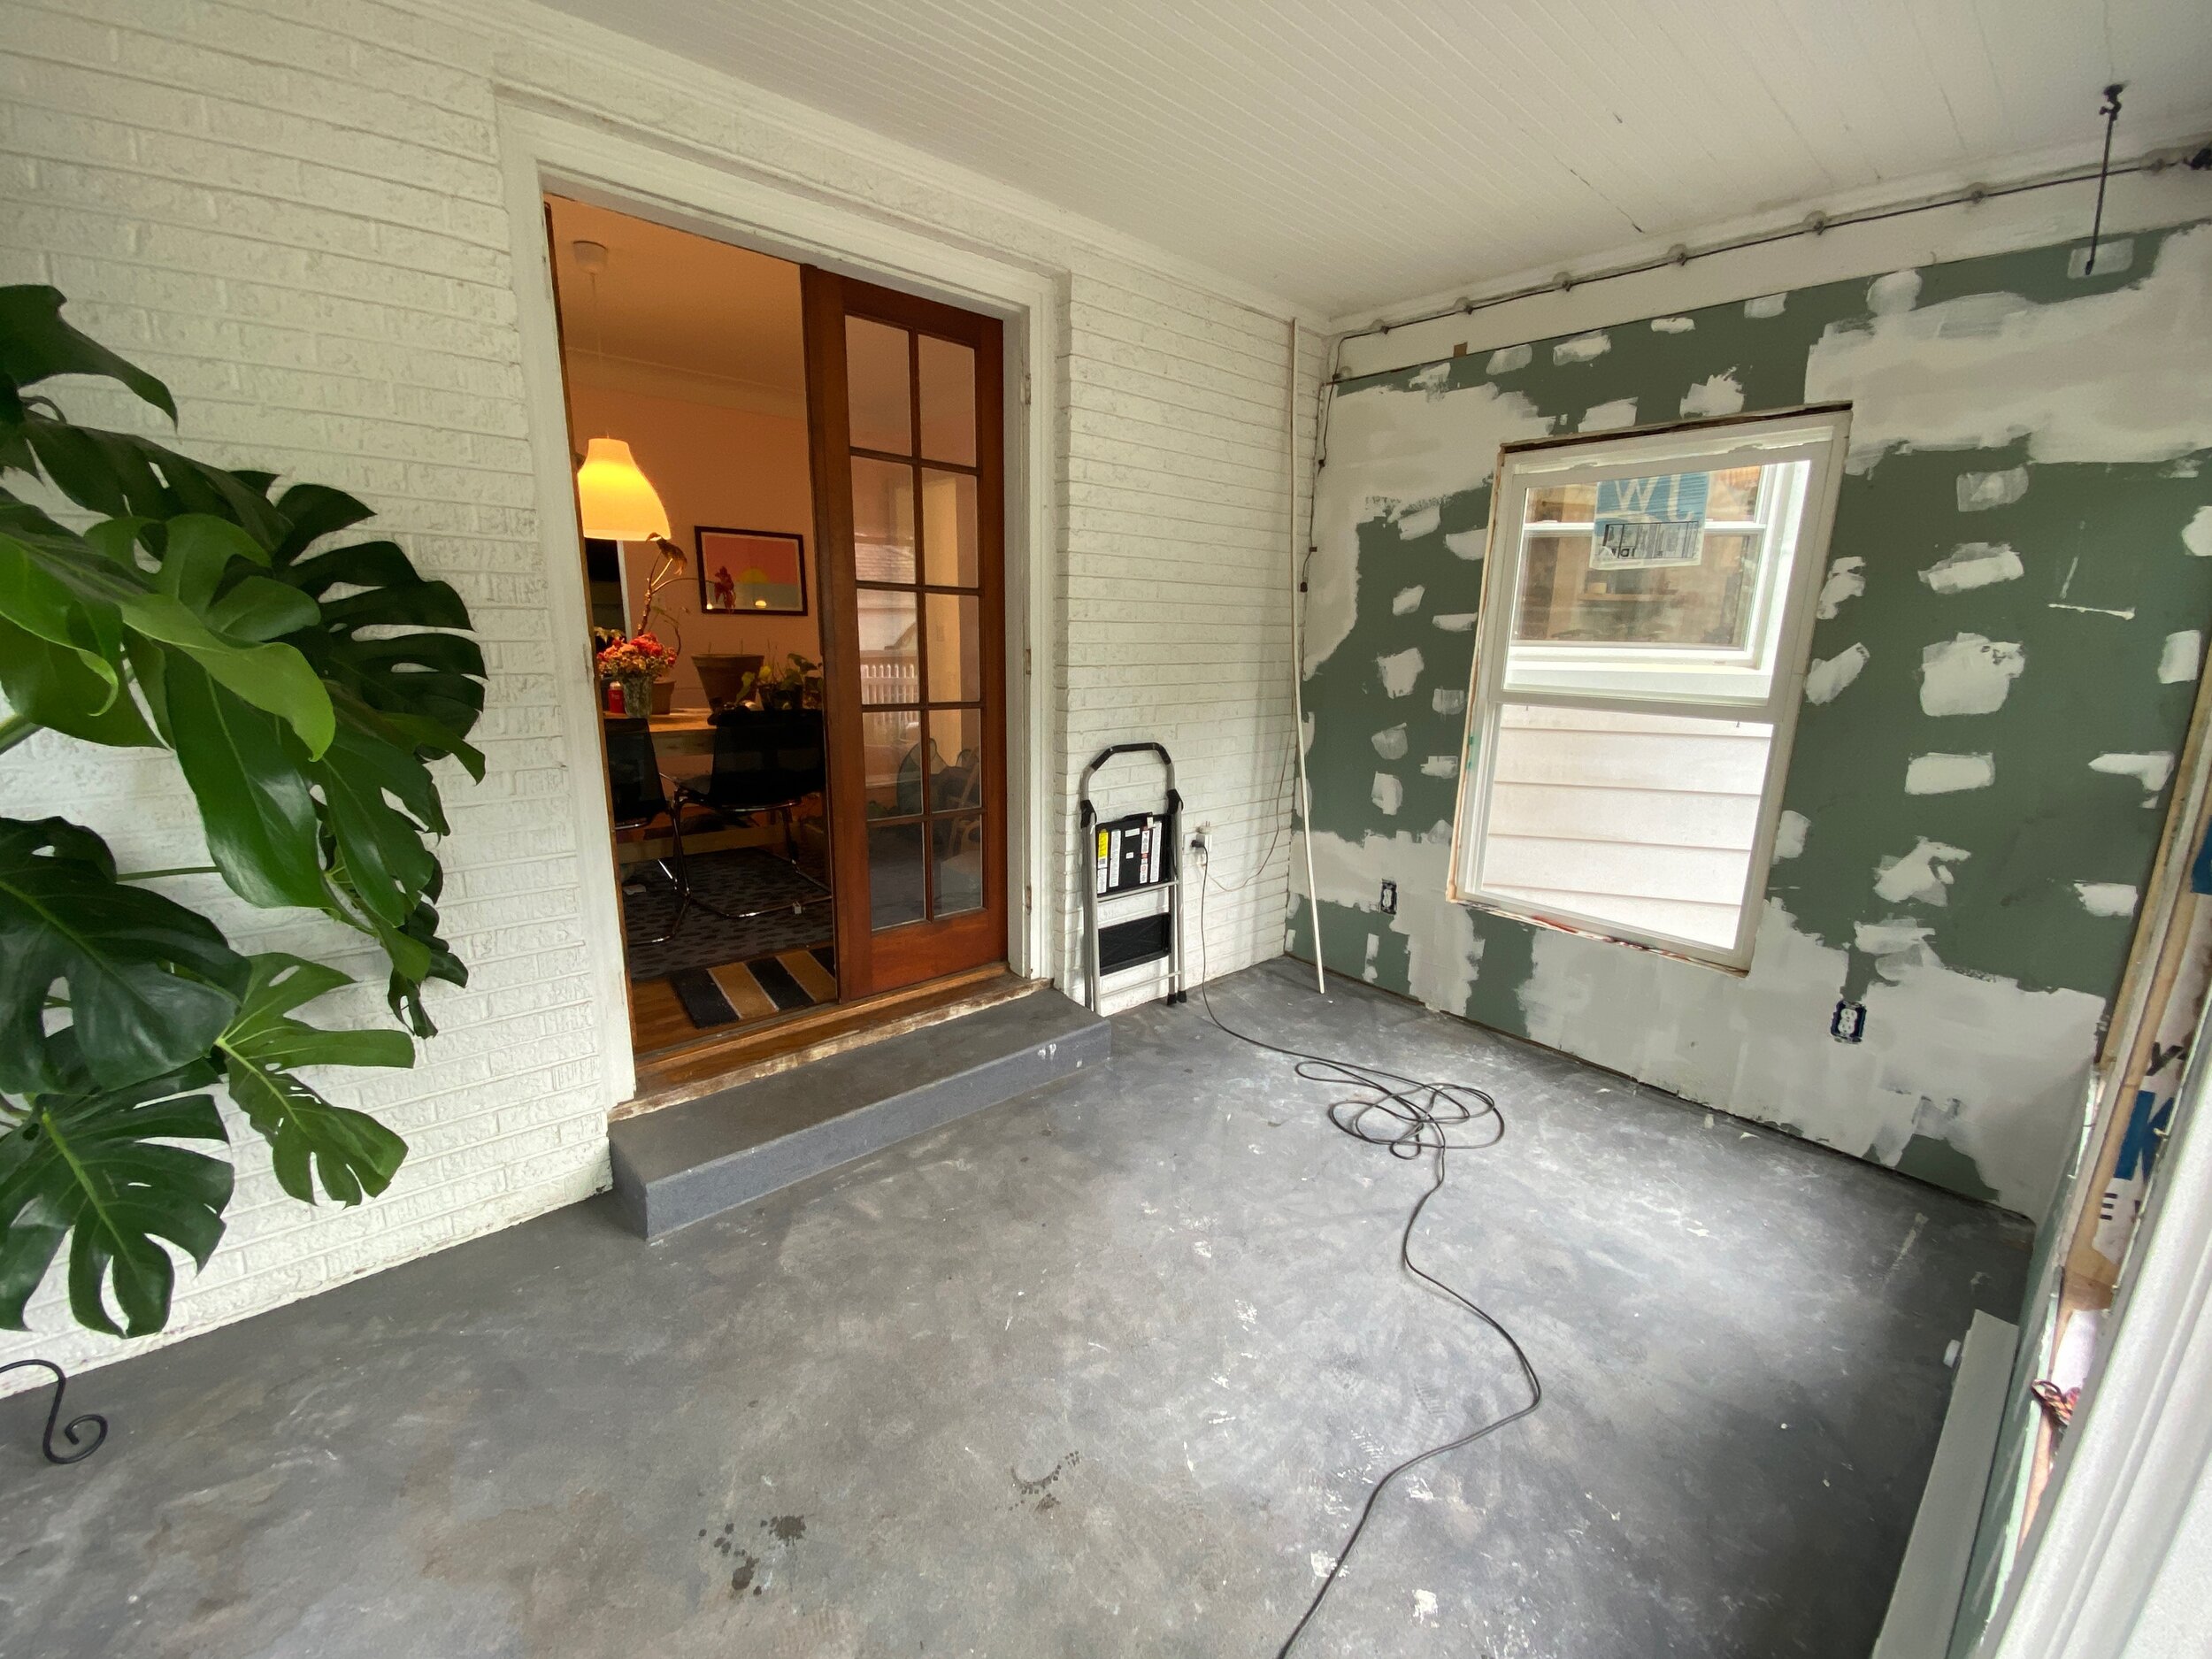
At this point, the construction guru/knight in shining armor had to leave to return to his home a few hours away, hopefully to return in a few weeks once we’ve decided what we are going to do with the outside. Right now, it’s looking like white vinyl siding will be the winner (to match the garage), but things could change. In the mean time, there’s a lot to be done inside the newly formed room. Insulation and drywall were the next steps. Insulation was chosen based the advice of Construction Guru before he left, and it came in around $15. It was installed in the spaces between the studs, but also stuffed into any little crack or crevice that could possibly need it. Drywall was chosen on the advice of another construction minded family member who recommended green board. I don’t remember the cost of this, but it took four sheets. The green board came in packs of two at Home Depot.


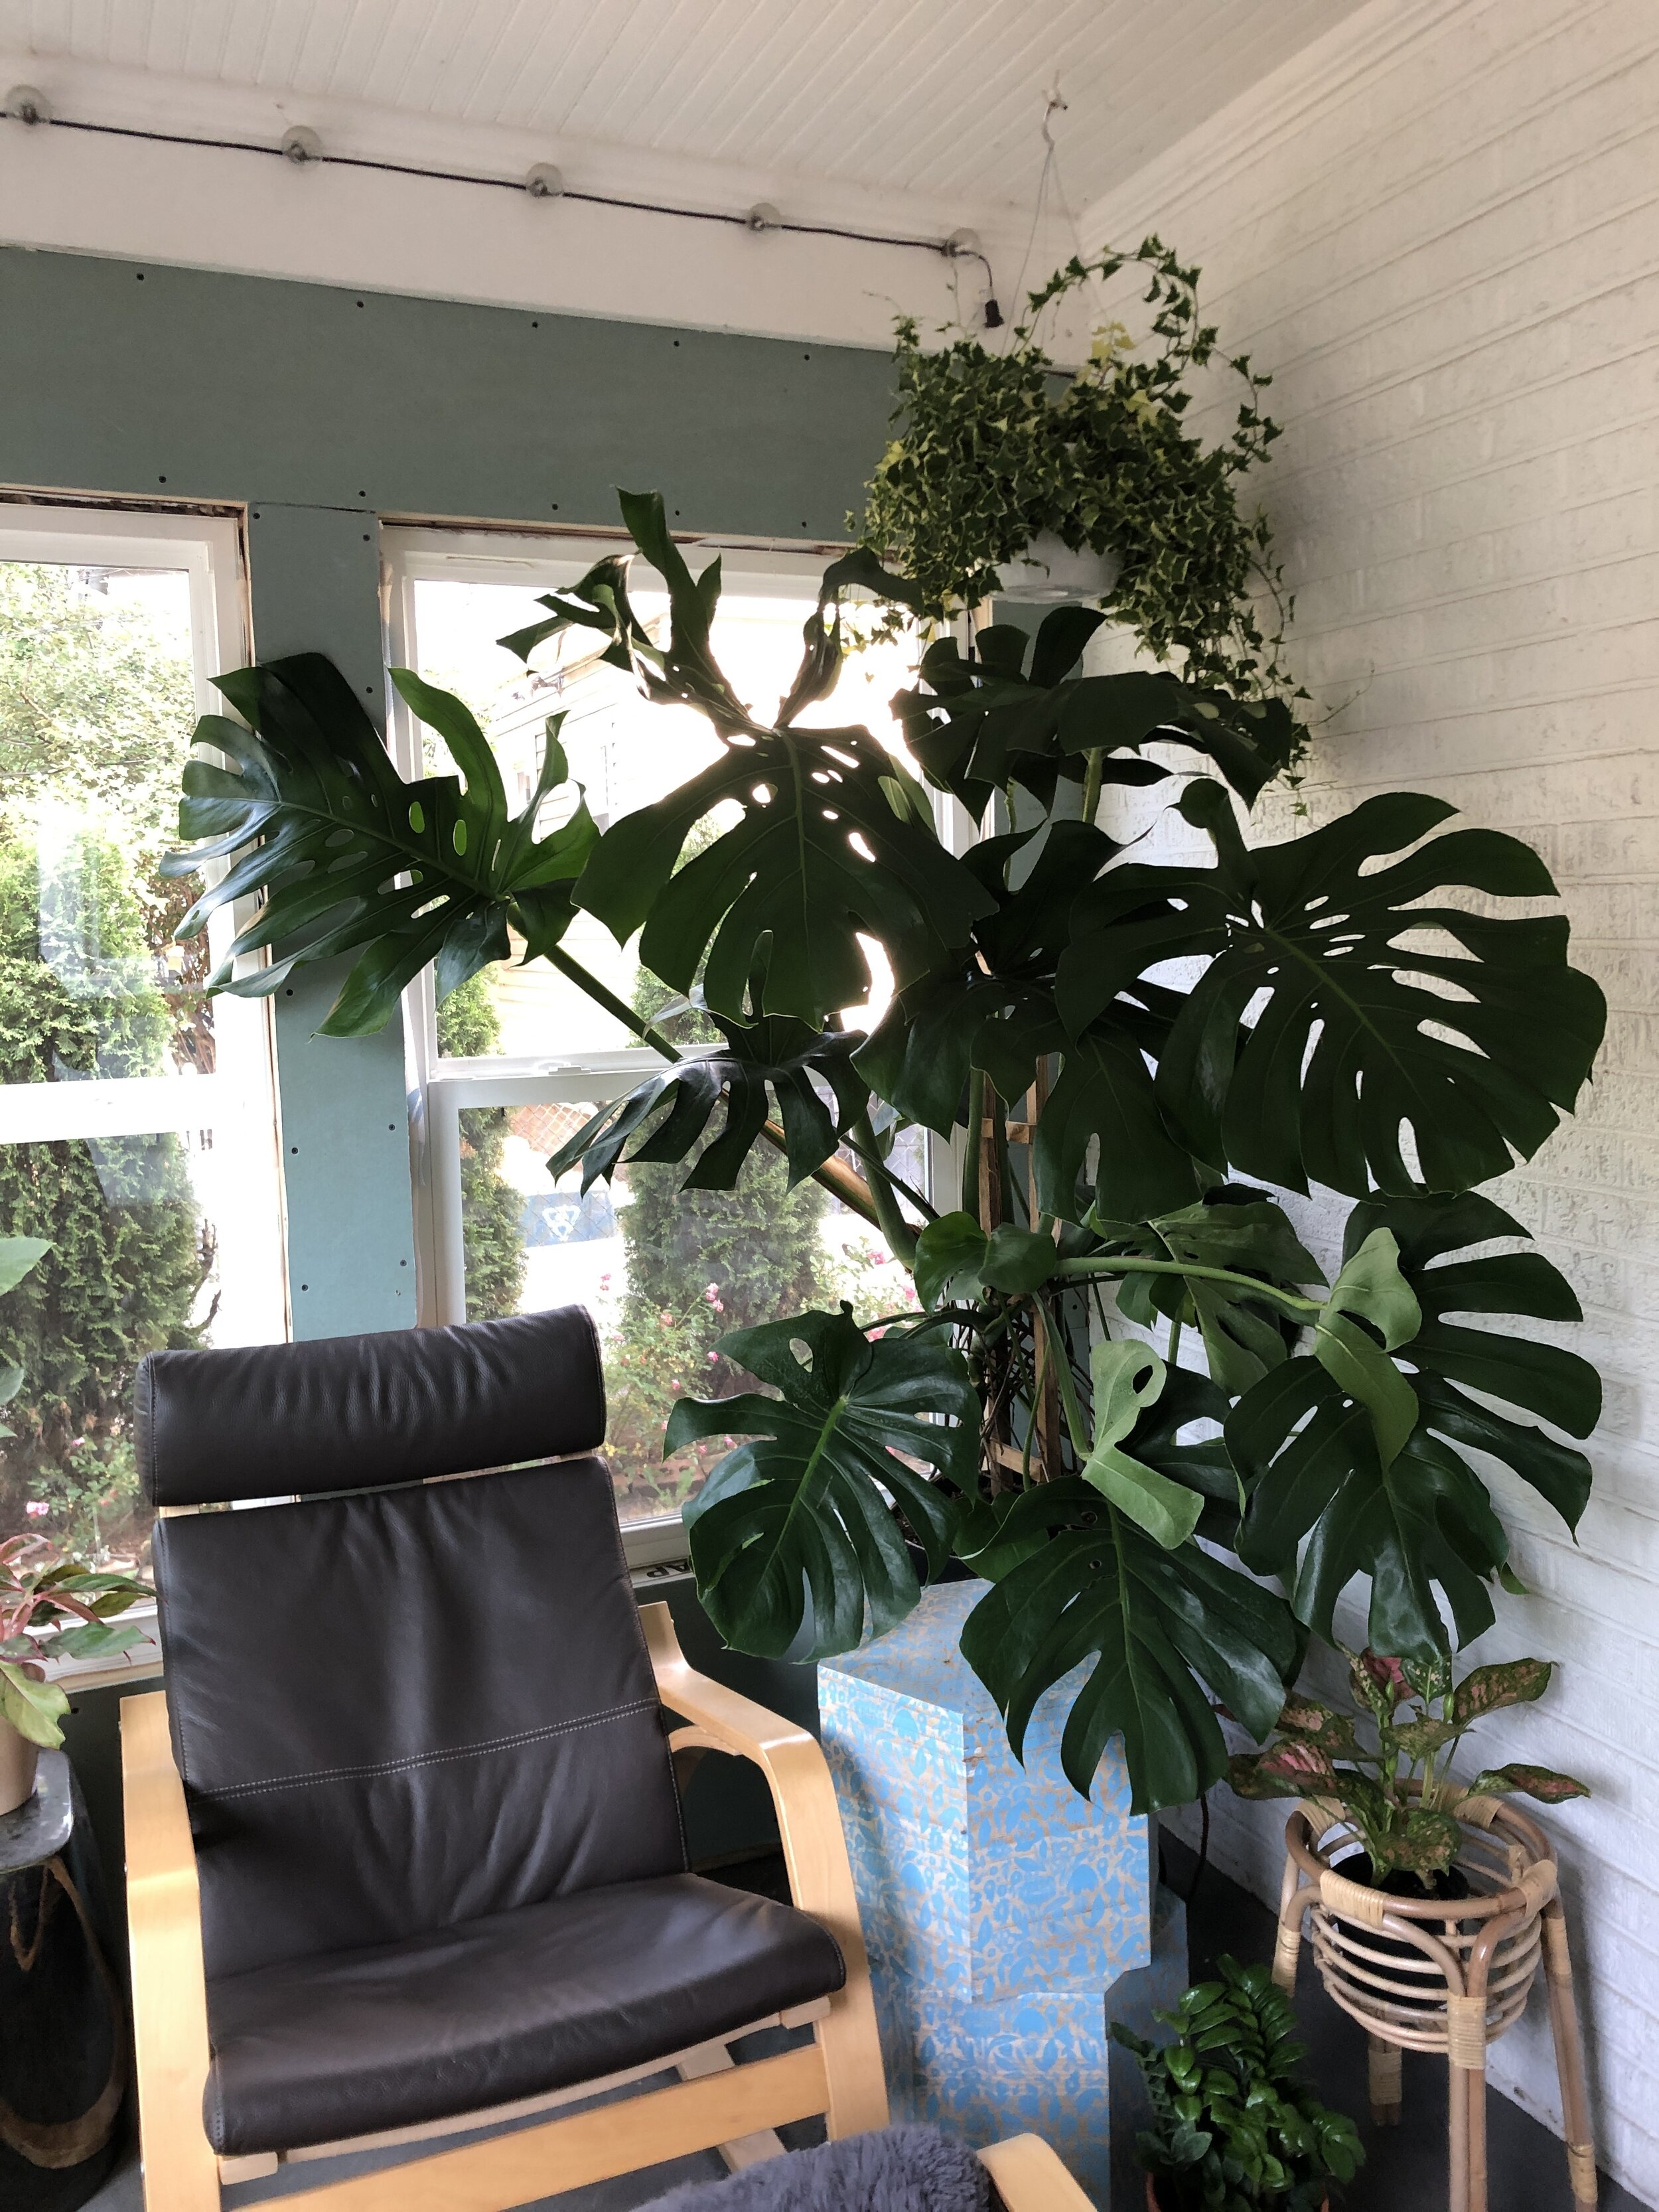
Obviously, I couldn’t resist adding a few plants. In fact, I’ve really gotten into planning this room and I purchased a huge Monstera Deliciosa, now named “Eep,” and added a chair, too. This is, of course, totally unfinished but it’s helping me visualize the way the room will be laid out once it’s finished.
The above photo is where the room stands now, about nine days into the project. Only minor tinkering is taking place right now as we wait for Thursday to arrive. After a bit of indecision, we finally decided to spend the extra $450 to have an electrician come out this week and install two new power outlets and wire for a baseboard heater to use in the winter. It was decided that this room will serve as an office and sitting area, so the single outlet that’s currently in the room won’t cover those needs. There was a lot of thought and consideration about installing under floor heating in case the floor gets cold in the winter, but so many professionals recommended against it. The current plan is to install tile in this room, and many advised that if anything were to ever go wrong with the under floor heating mats, the entire tile floor would need to be removed to access the mats for replacement or repair. In the end, it just wasn’t worth it. The Cadet 36 inch 750-Watt 240-Volt Electric Baseboard Heater in White is the perfect size to heat this room. With the cadet coming in around $38, it wasn’t a difficult decision to forego the expensive and potentially disastrous under floor heating mats and simply add a plush rug in case the tile is cold. The thermostat for the Cadet is sold separately, but more about that later.
Well…it’s later. It’s 7/5/20, to be exact. We’re 23 days in, and a lot has happened. First, we have insulation, heat and more power!

Next, it was time for drywall. A relative recommended green board for its ability to resist moisture. Where there are plants, there’s water. Better safe than sorry.

Let me just say again that I’m a total novice when it comes to building. I am far from competent, let alone an expert. With that disclaimer out of the way I just have to emphasize that this stage was beyond tedious. The cutting of the drywall was pretty much as I expected, but the three layers of drywall joint compound with 24 hours of drying between each layer and then never.ending.sanding - I was about to cry. These tools were like torture devices by the end of that three days.
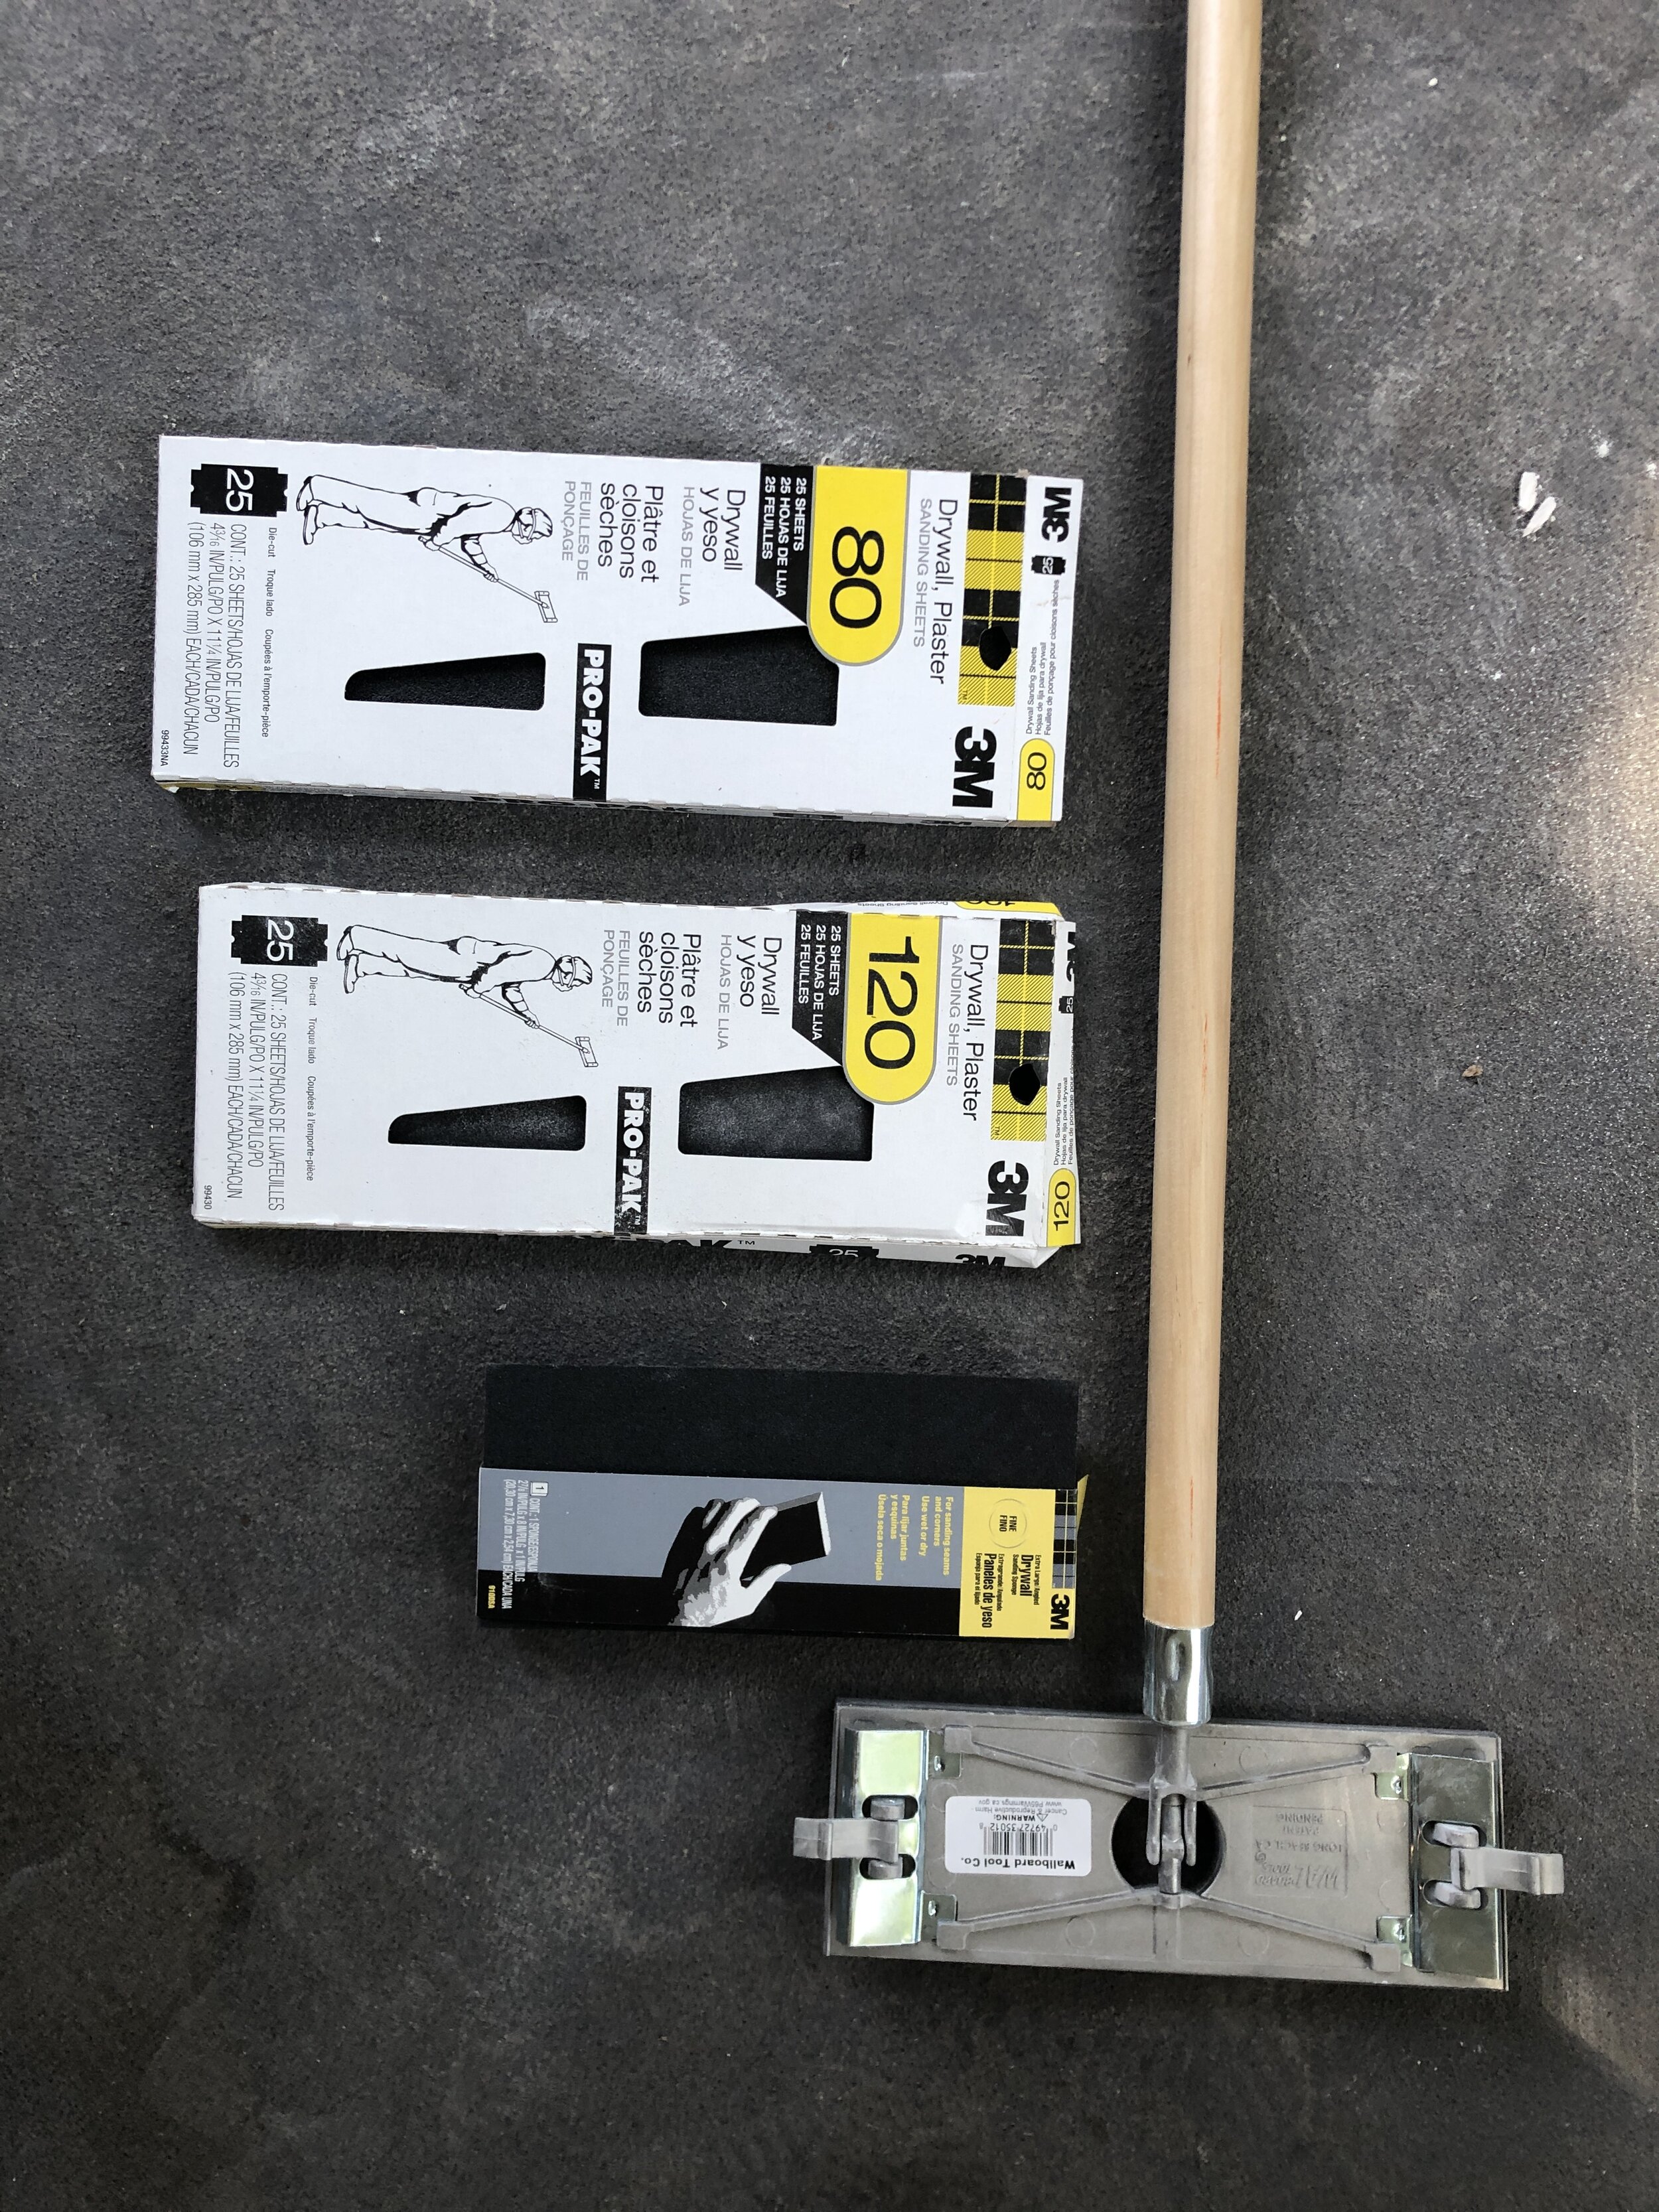
I used a basic all purpose joint compound, and in retrospect I wonder how much more enjoyable my life would have been for those 72 hours if I had chosen the “low dust” option that cost a few bucks more.
After all the sanding and sanding and sanding was finished, I applied a sample of paint. I was really torn between green and blue for a long time, and I’m glad green won out in the end. Oddly, it was the green board that really sealed the deal. After literally staring at the mud drying on the walls for days, the green really grew on me. It would’ve been strange after all that time to look into the sunroom and see blue.


The winning shade was Behr Brookview. If I have a choice, I always choose Behr Marquee. Everything in my house Is Marquee except for my kitchen where there was no choice through our contractor except for Sherwin Williams. Sorry Sherwin, but I can tell a major difference. What you see above is what came in the small sample jar. I am normally very dramatic about choosing a shade. I get several samples and put them all over the walls, but in this case I was drama free. Maybe it was all the sanding that eroded my willpower, or maybe Brookview was just it. Either way, I got that Brookview up quickly.


I also got the casing and trim up quickly. So quickly, in fact, that I barely stopped to take photos. I’m not going to sugar coat it. My trim work is unfortunate to say the least. I think I’ll wait a year (or several) and re-trim the windows. I need some time to regroup before attempting that again. Part of the challenge was that I wasn’t using the correct saw, and I was okay with it at first because I didn’t want to go to the length of buying or renting a miter saw. After the second day, we got a decent system going. It ended up involving a basic hand saw and some really tired arms. The most important thing to me was that the trim was level on the two sets of side-by-side windows, and I’m happy to say that they are level. I can live with some rough cuts that blended with a little bit of putty and paint, but I couldn’t have looked at crooked trim every day.
Next, it was time to install the two plant shelves that I had planned. I already had these brackets left over from the 2019 kitchen remodel. They’re from Cascade Iron Co. I found them on Etsy and I’m obsessed with them. Since the kitchen remodel, I’ve used them for another set of shelves and two plant tables. These two shelves are now my fifth project with Cascade Iron Co. products.

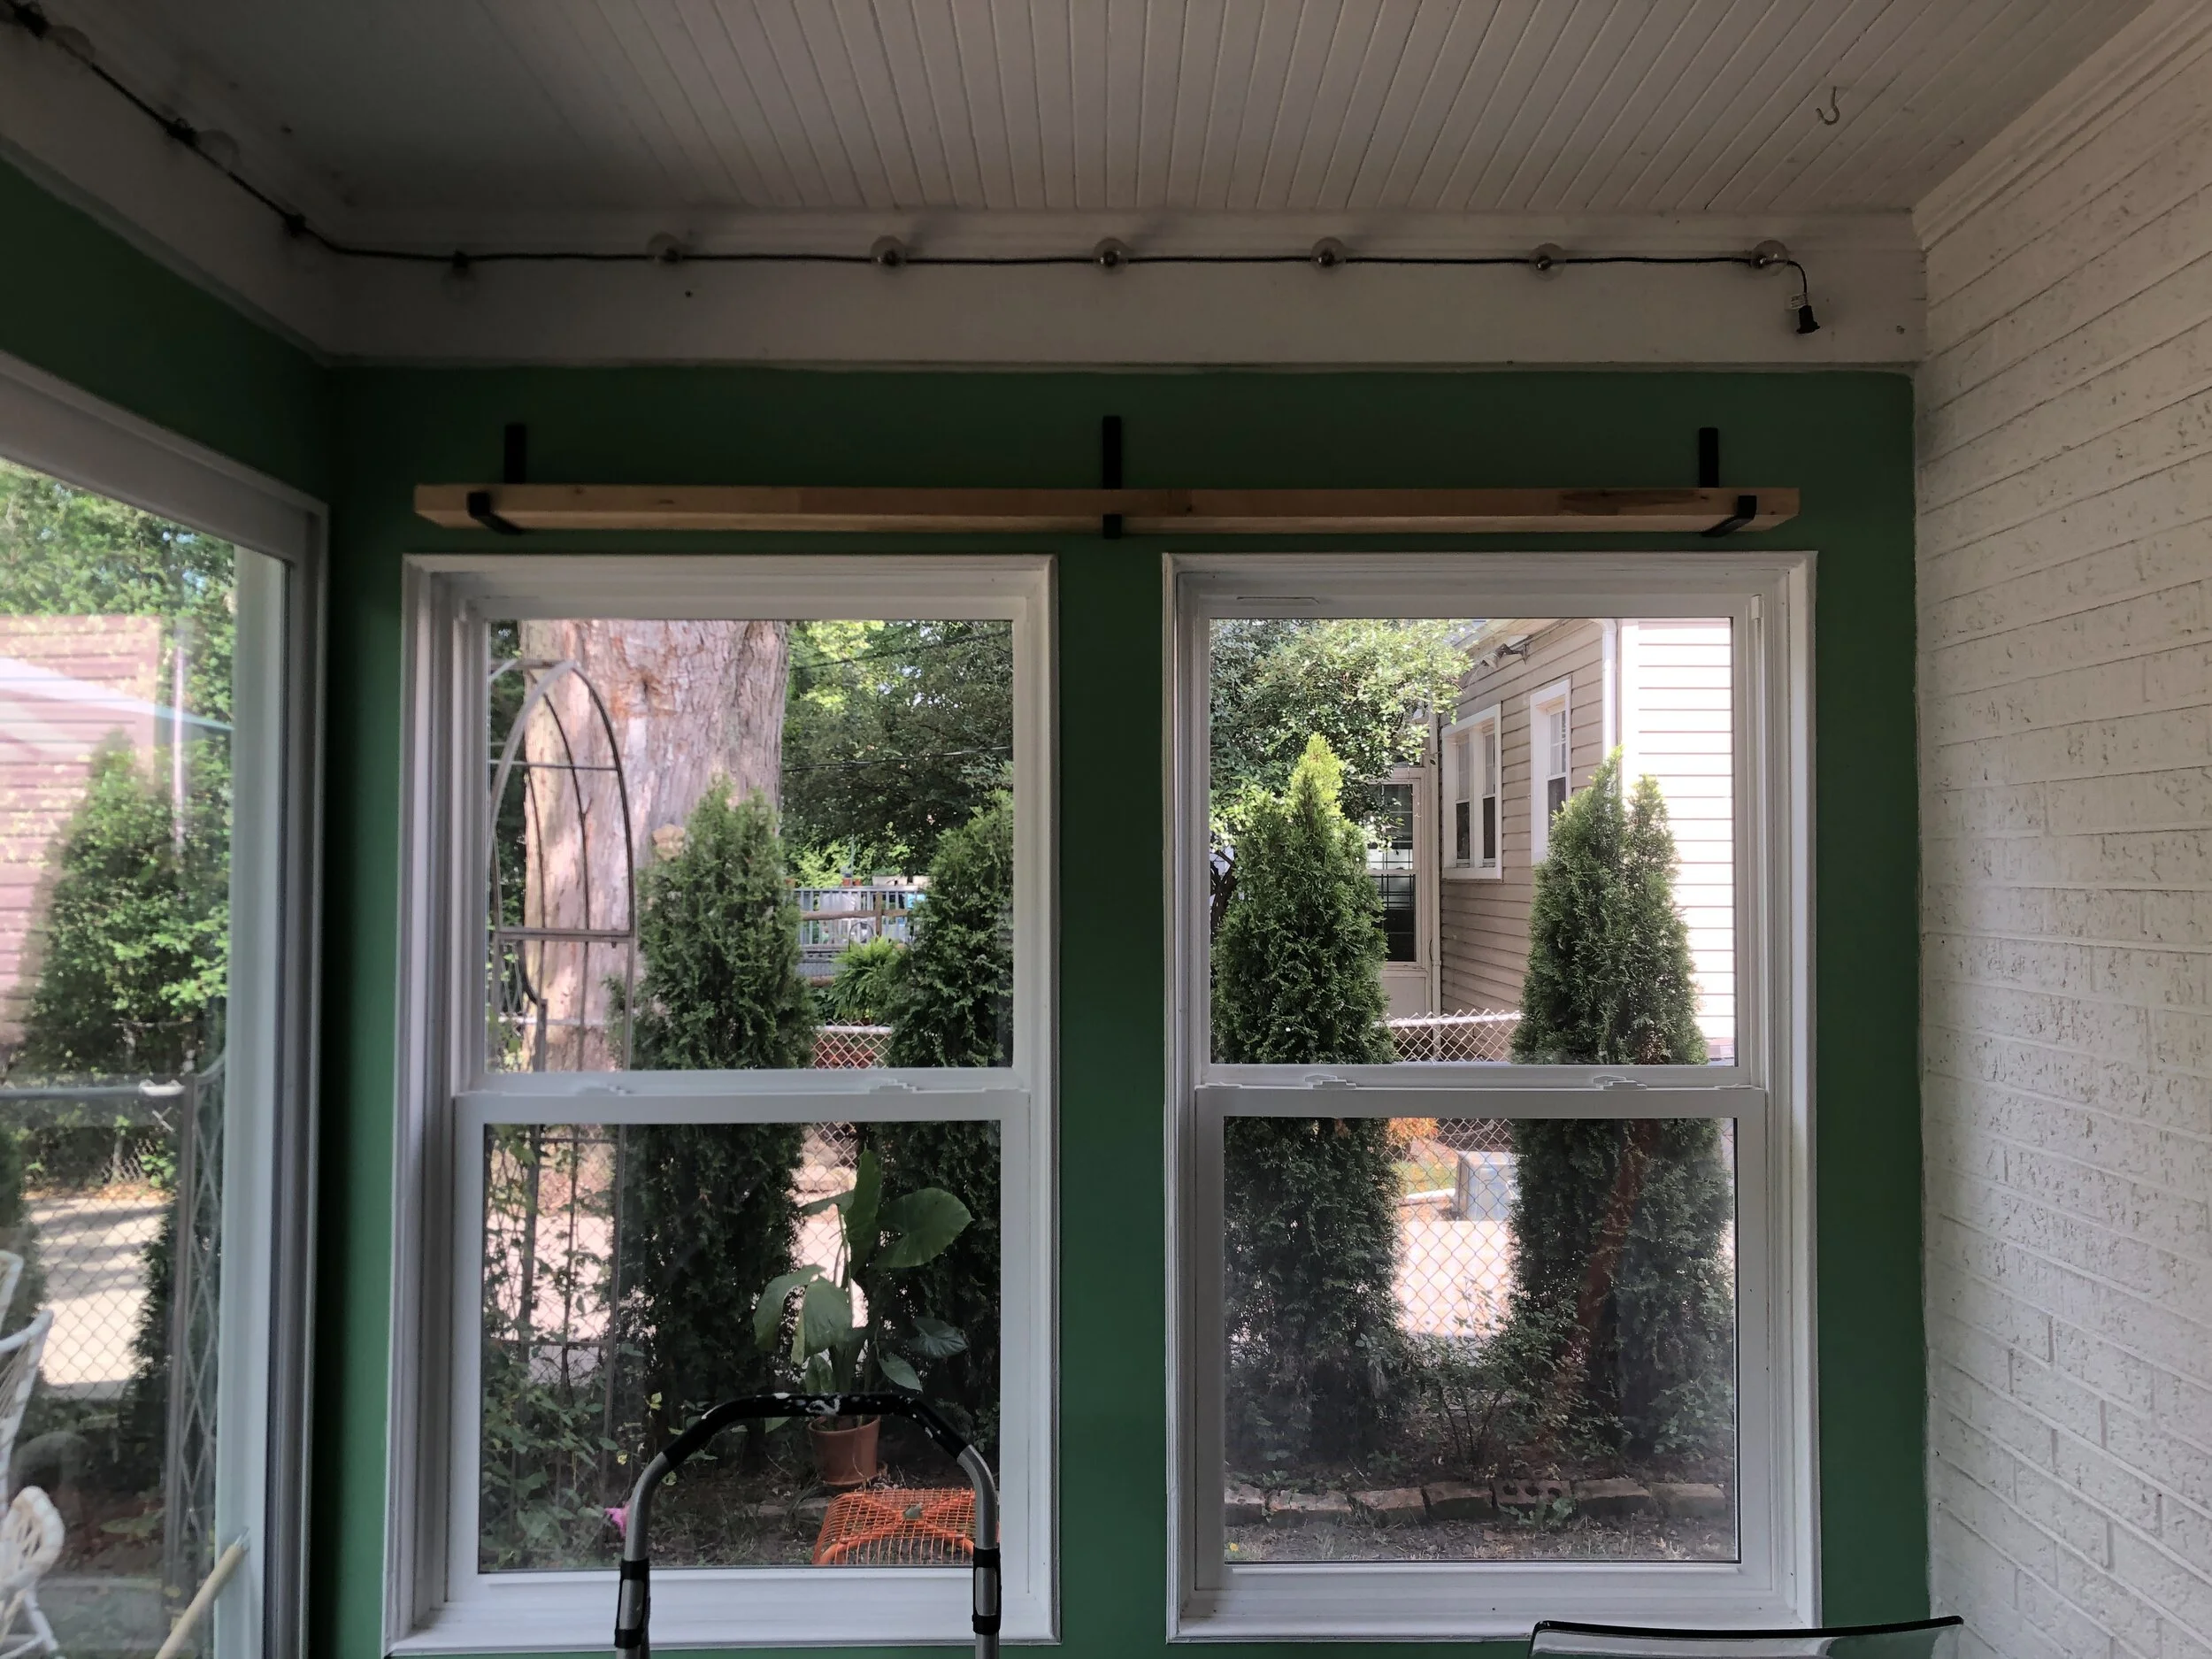
I used J-brackets for both shelves. The shelf over the single window is an 11.25 inch shelf and the shelf over the double window is a 5.5 inch bracket with a flat supporting bracket in the middle. I followed the same steps to prepare and finish the wood shelves as I did for the plant table project I did in the Spring. And yes, I put a plant up there about four seconds after the shelf was stable. I couldn’t resist a test run to see how it looked.
The next step was the floor. In my sunroom dreams, I saw a matte black tile floor that tied in perfectly with my black shelf brackets and various other whatnots that I’ve gathered for decoration. In fact, I even bought everything to make that dream a reality. It was a last minute decision to completely skip the tile and go with Behr Granite Grip. Frankly, I was completely exhausted and it didn't take much effort from the powers that be to coerce me into a simpler flooring solution.
I followed the instructions on the label. It wasn’t difficult. I’ve used Granite Grip two times before and I know it to be an easy and reliable product. The color is Autumn Mountain. Here is is in various stages of completion.


As you can see, a cat and a couple of flies got into the Granite Grip before it was dry, but I was able to fix those issues with the second coat and minor touch-ups at the end.
This is the part where I would normally say that I added base trim, but I didn't do that. I’m waiting for the expert relative to come back to add the finishing touches to the exterior. He’ll definitely be bringing a saw that’ll be up to the task. The same applies to the trim around the door. I planned to do this at the same time as the windows, but ultimately decided to wait. I’d rather wait and have it look nice.
So here’s where we are now…


It’s come a long way! There’s always more work to do. There’s more physical work to do, yes, but I’m also still working on the decor aspect. More to come!