
Plant Table Project.
I have been obsessed with CascadeIronCo on Etsy ever since I used them to make the brackets that hold my kitchen shelves. I have found the quality to be amazing, and I have since used them for another shelving project in my house, as well as this bench project. The legs for this project were roughly $115, and the project ended up around $150 once other supplies had been purchased.
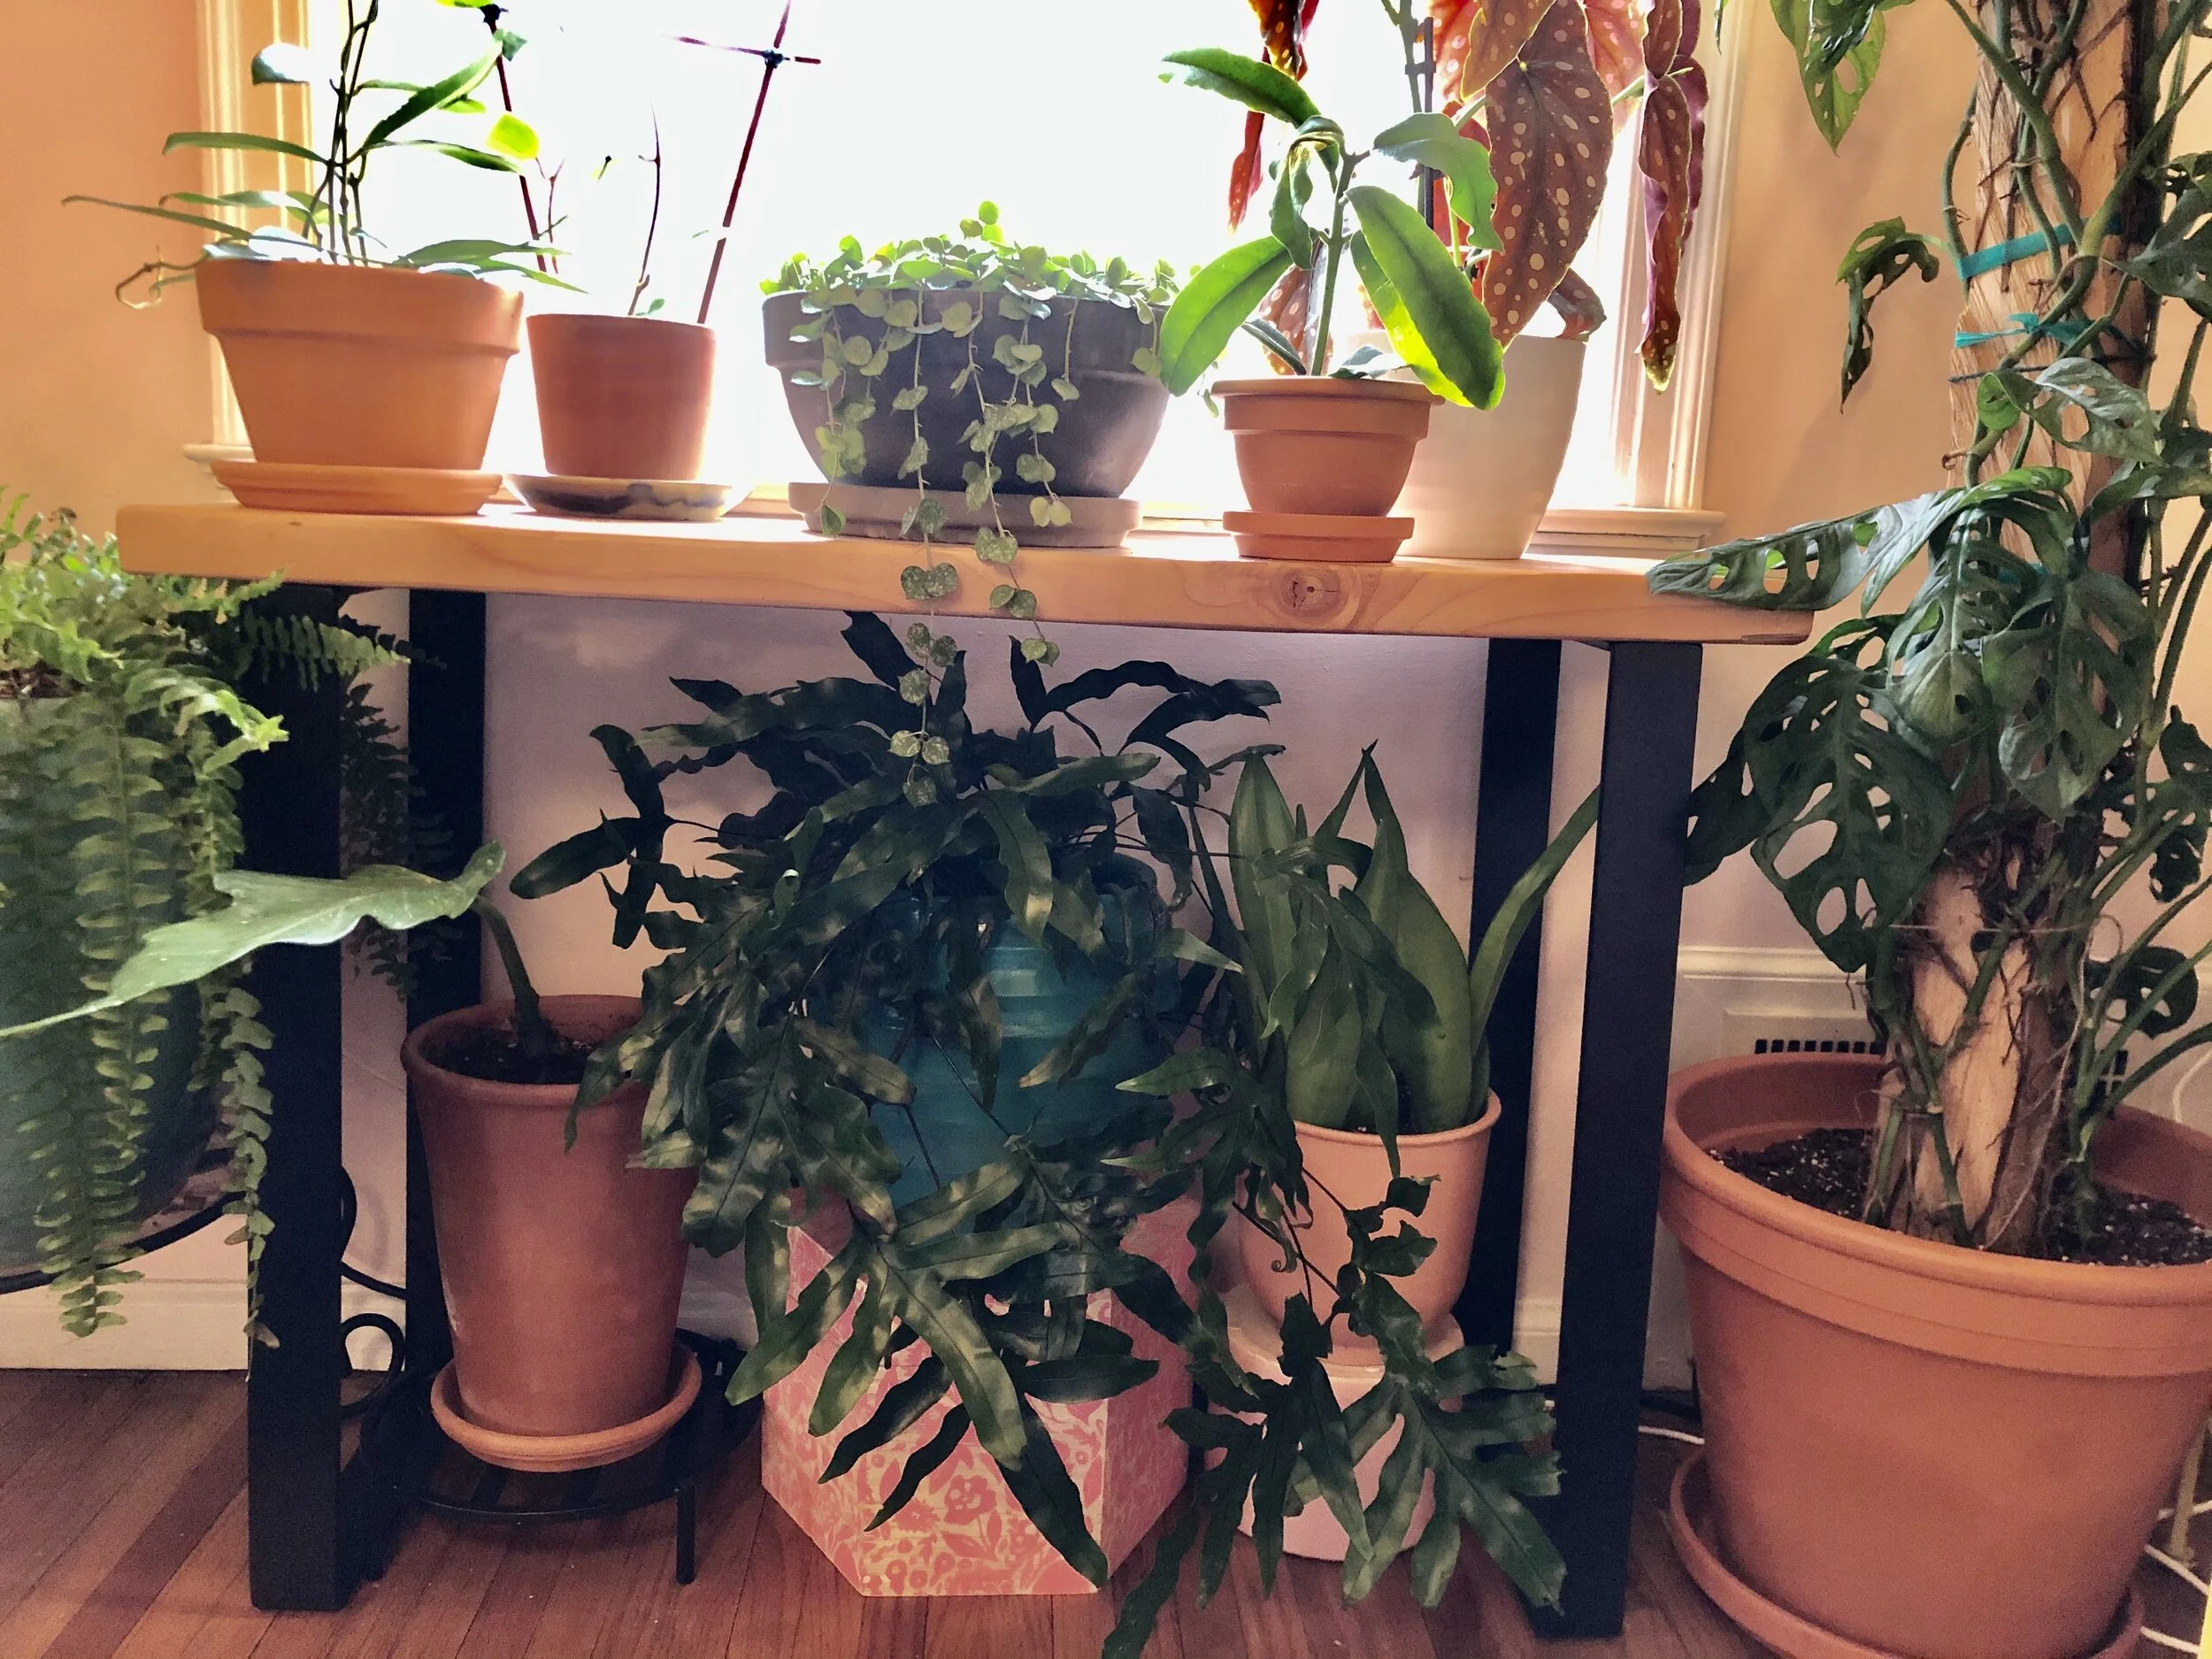
I decided I wanted a plant table for my East facing dining room window, but nothing I found felt like the right table. Additionally, I was finding that I’d be spending way more than $150 to purchase a piece of furniture that might not even meet my needs or wants. I decided to make my own table with wood that would match my kitchen shelves and dining room table. I love how the piece fits in with the rest of my house, and being apart of its creation made the experience more personal for me.
First.
I’m starting with necessary materials to make a bench measuring 26” high and 36” long. I will be saving another board at 44” long to make another bench at a later time.
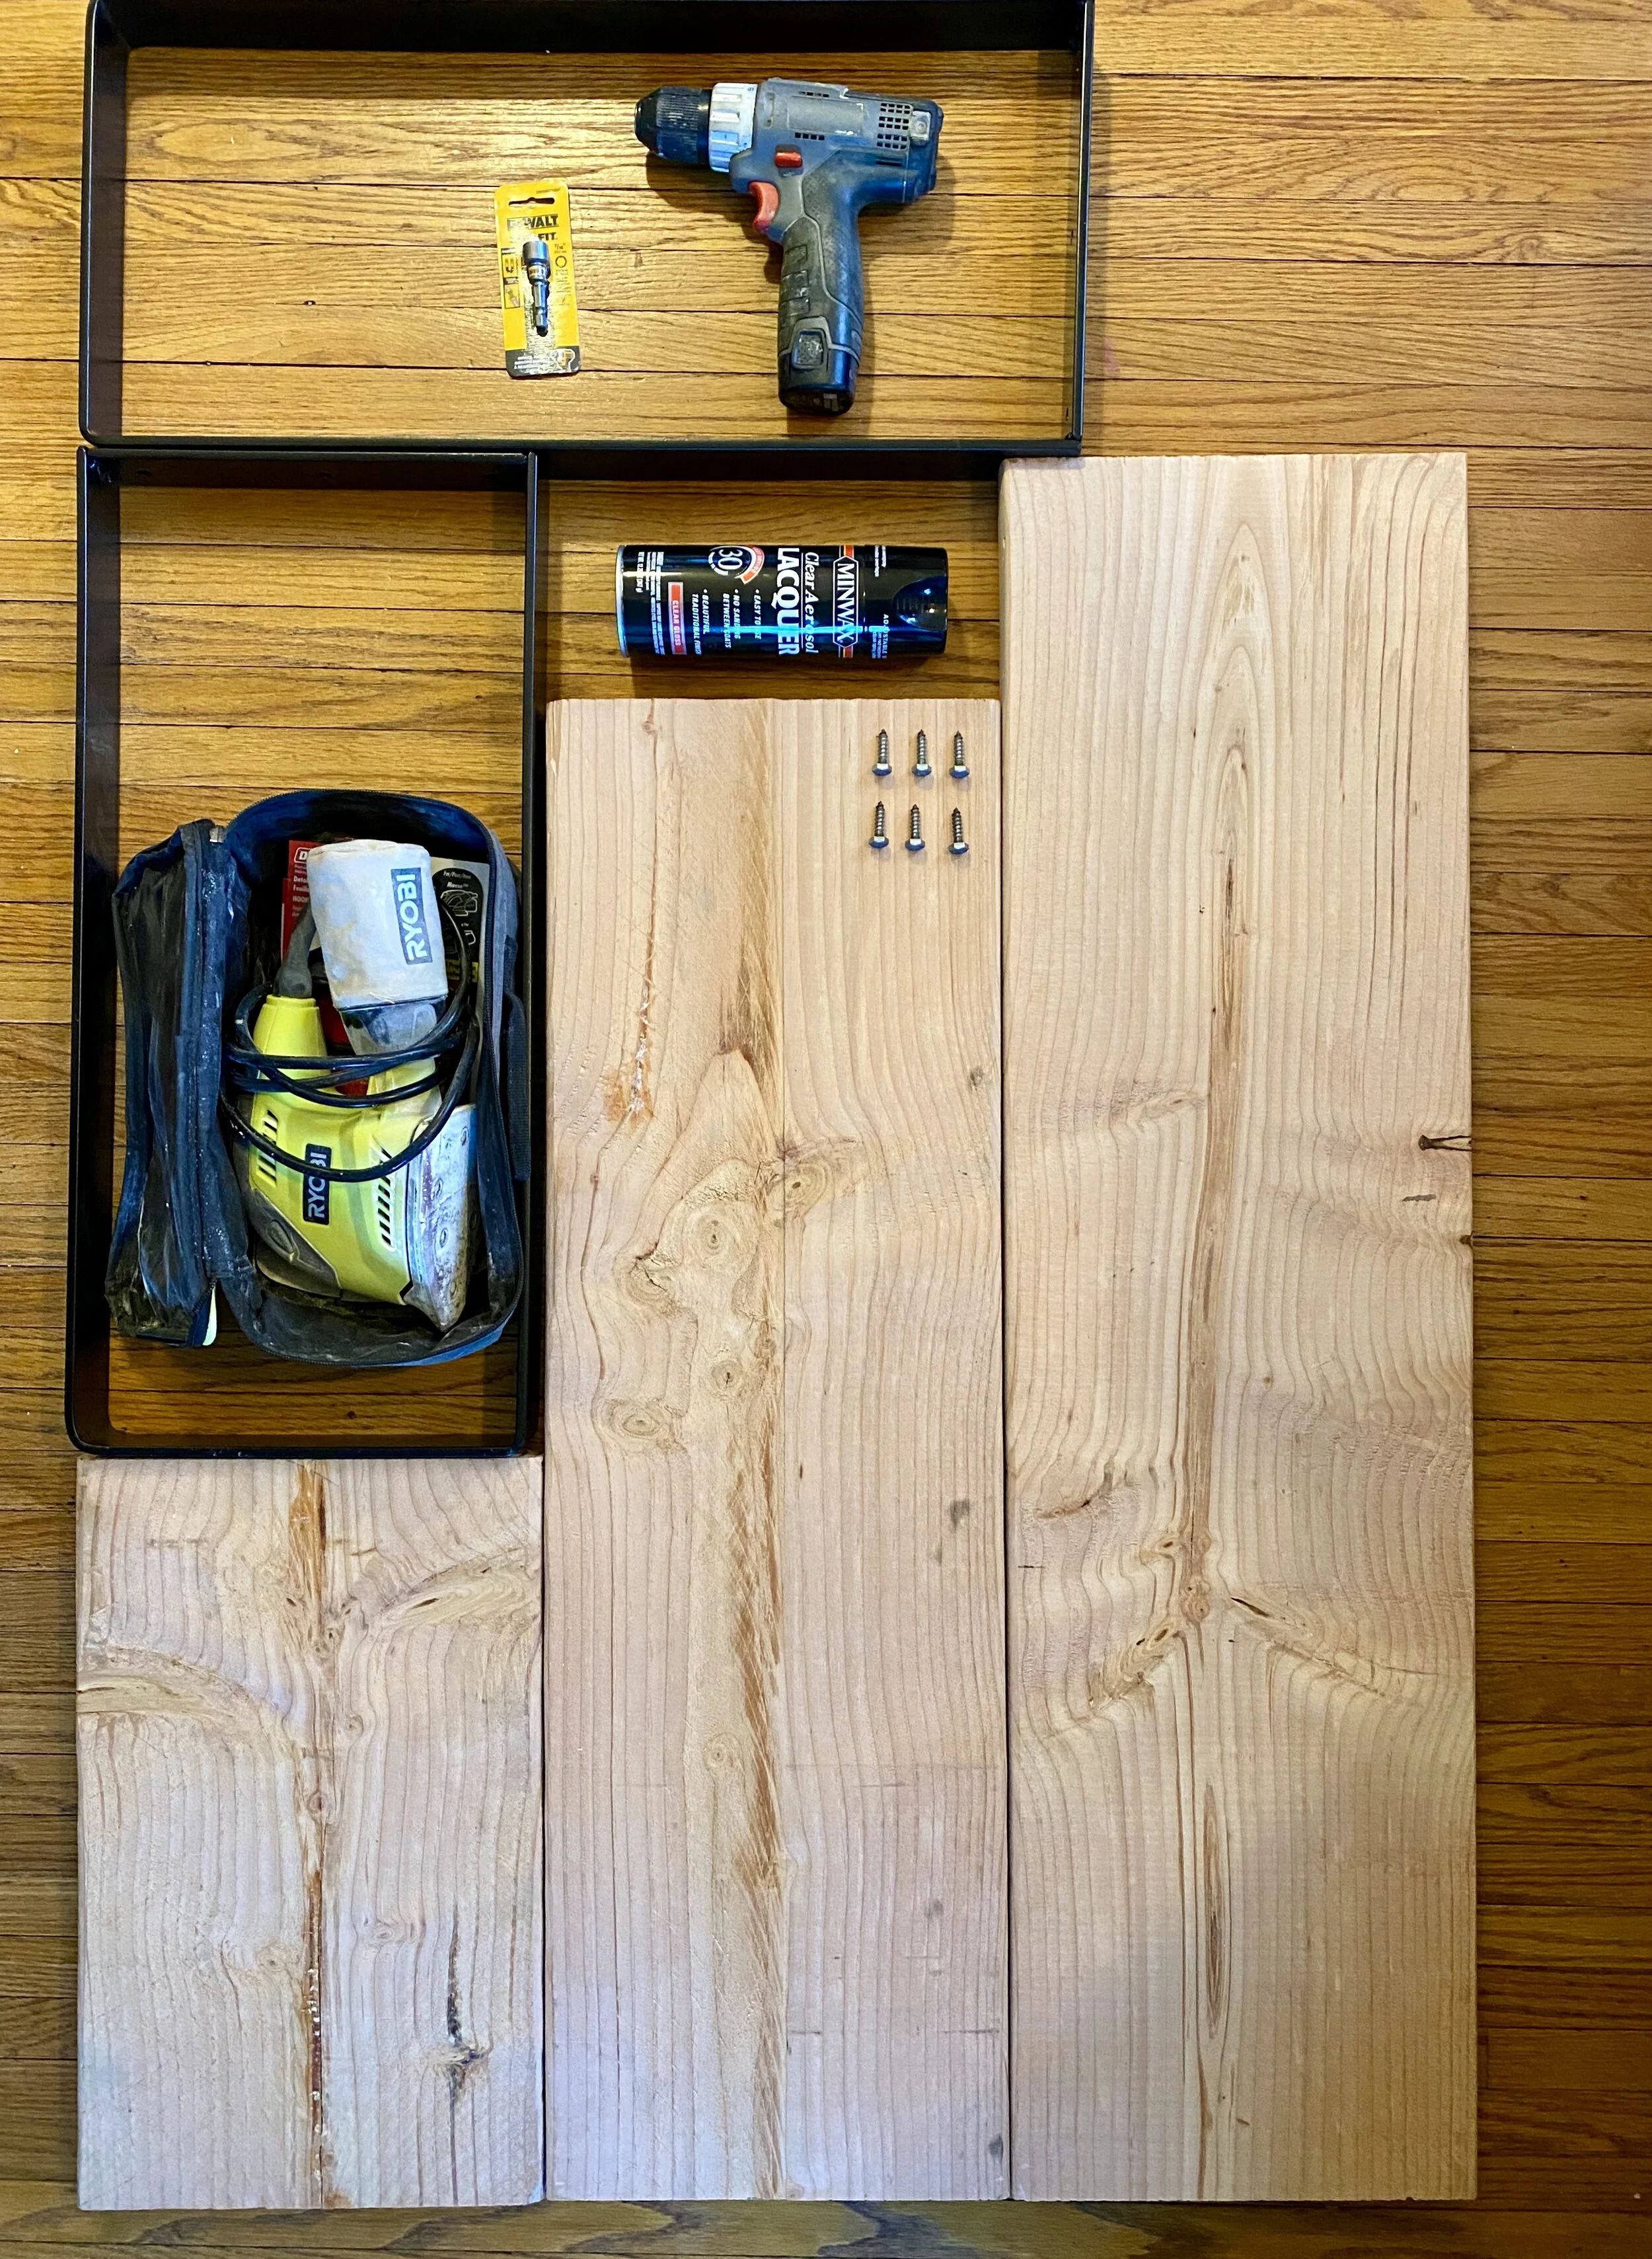
-Drill
-Drill bit
-Lacquer
-Bench Legs
-Six Screws (came with bench legs)
-Electric Sander and sandpaper
-2x12x8 ft. board that I had pre-cut to my specifications at Home Depot.
Next.
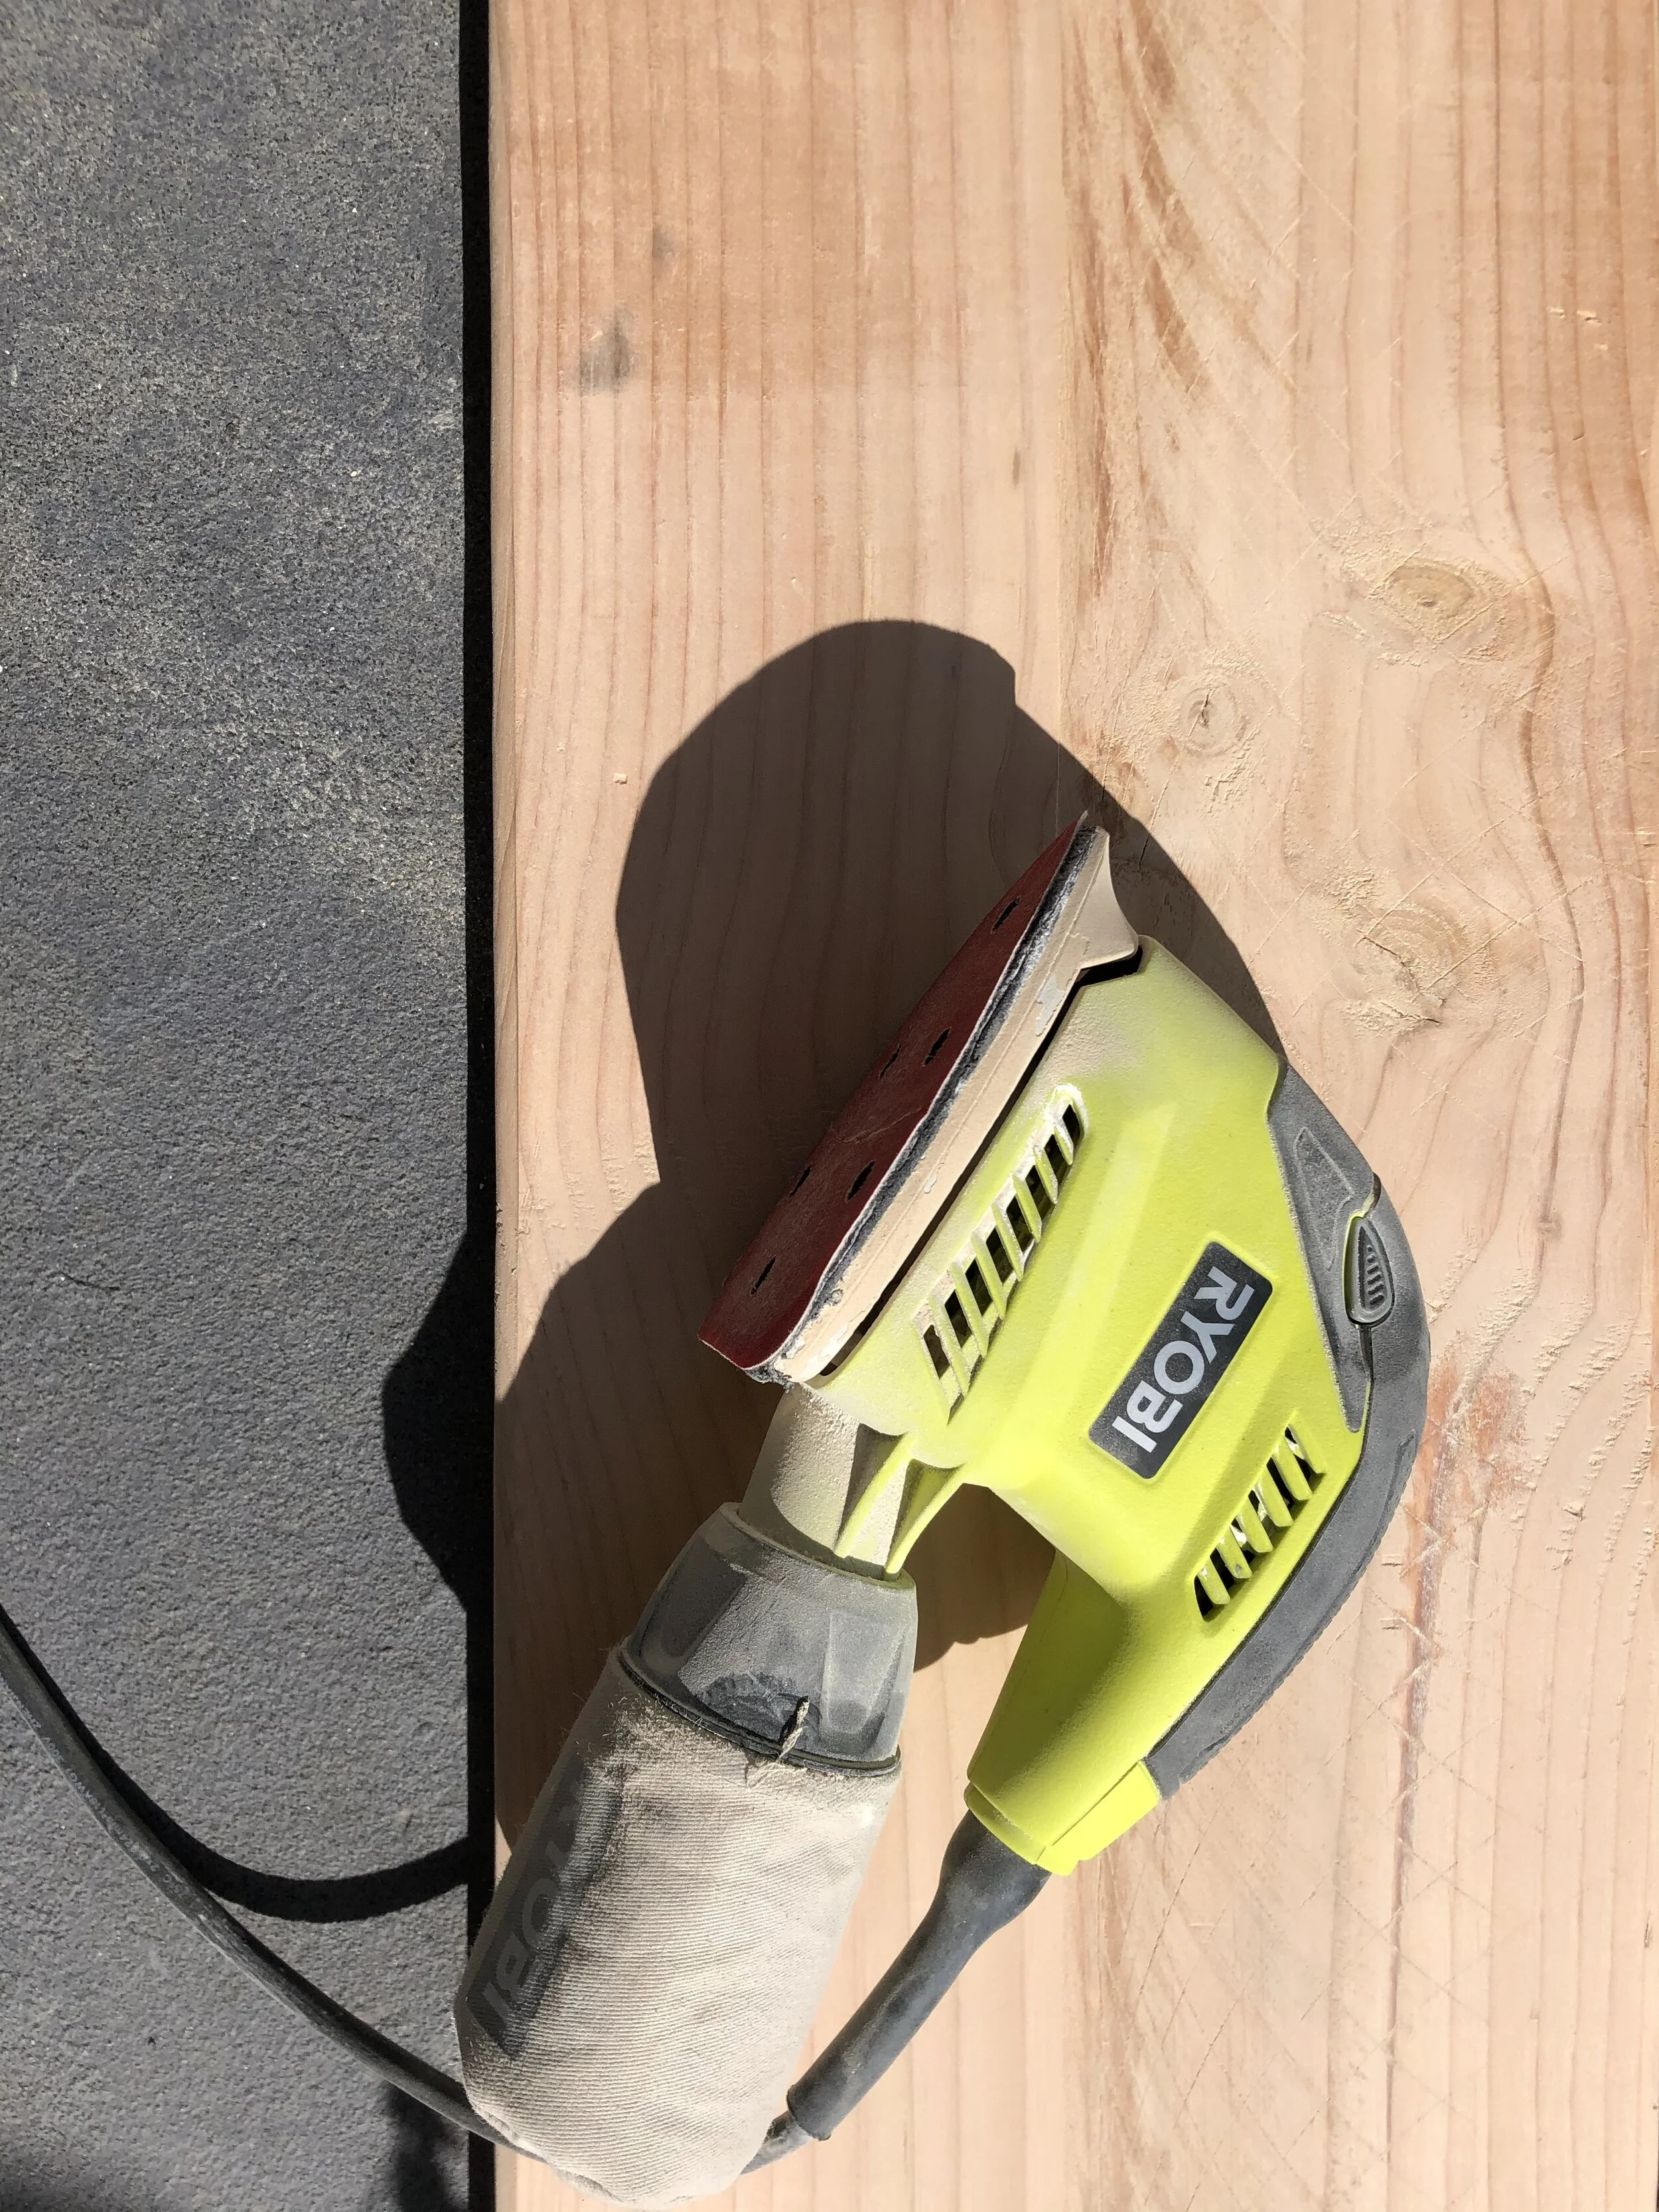
I moved my board and sander outside. I used 120 grit sandpaper to sand both sides of the wood. I likely would have purchased varying grits of sandpaper had I remembered. I sanded until the board felt smooth on all surfaces and did not catch the dry cloth that I used to dust away debris. I was also careful to sand down the corners of the wood so they have a softer, rounded edge.
Then.
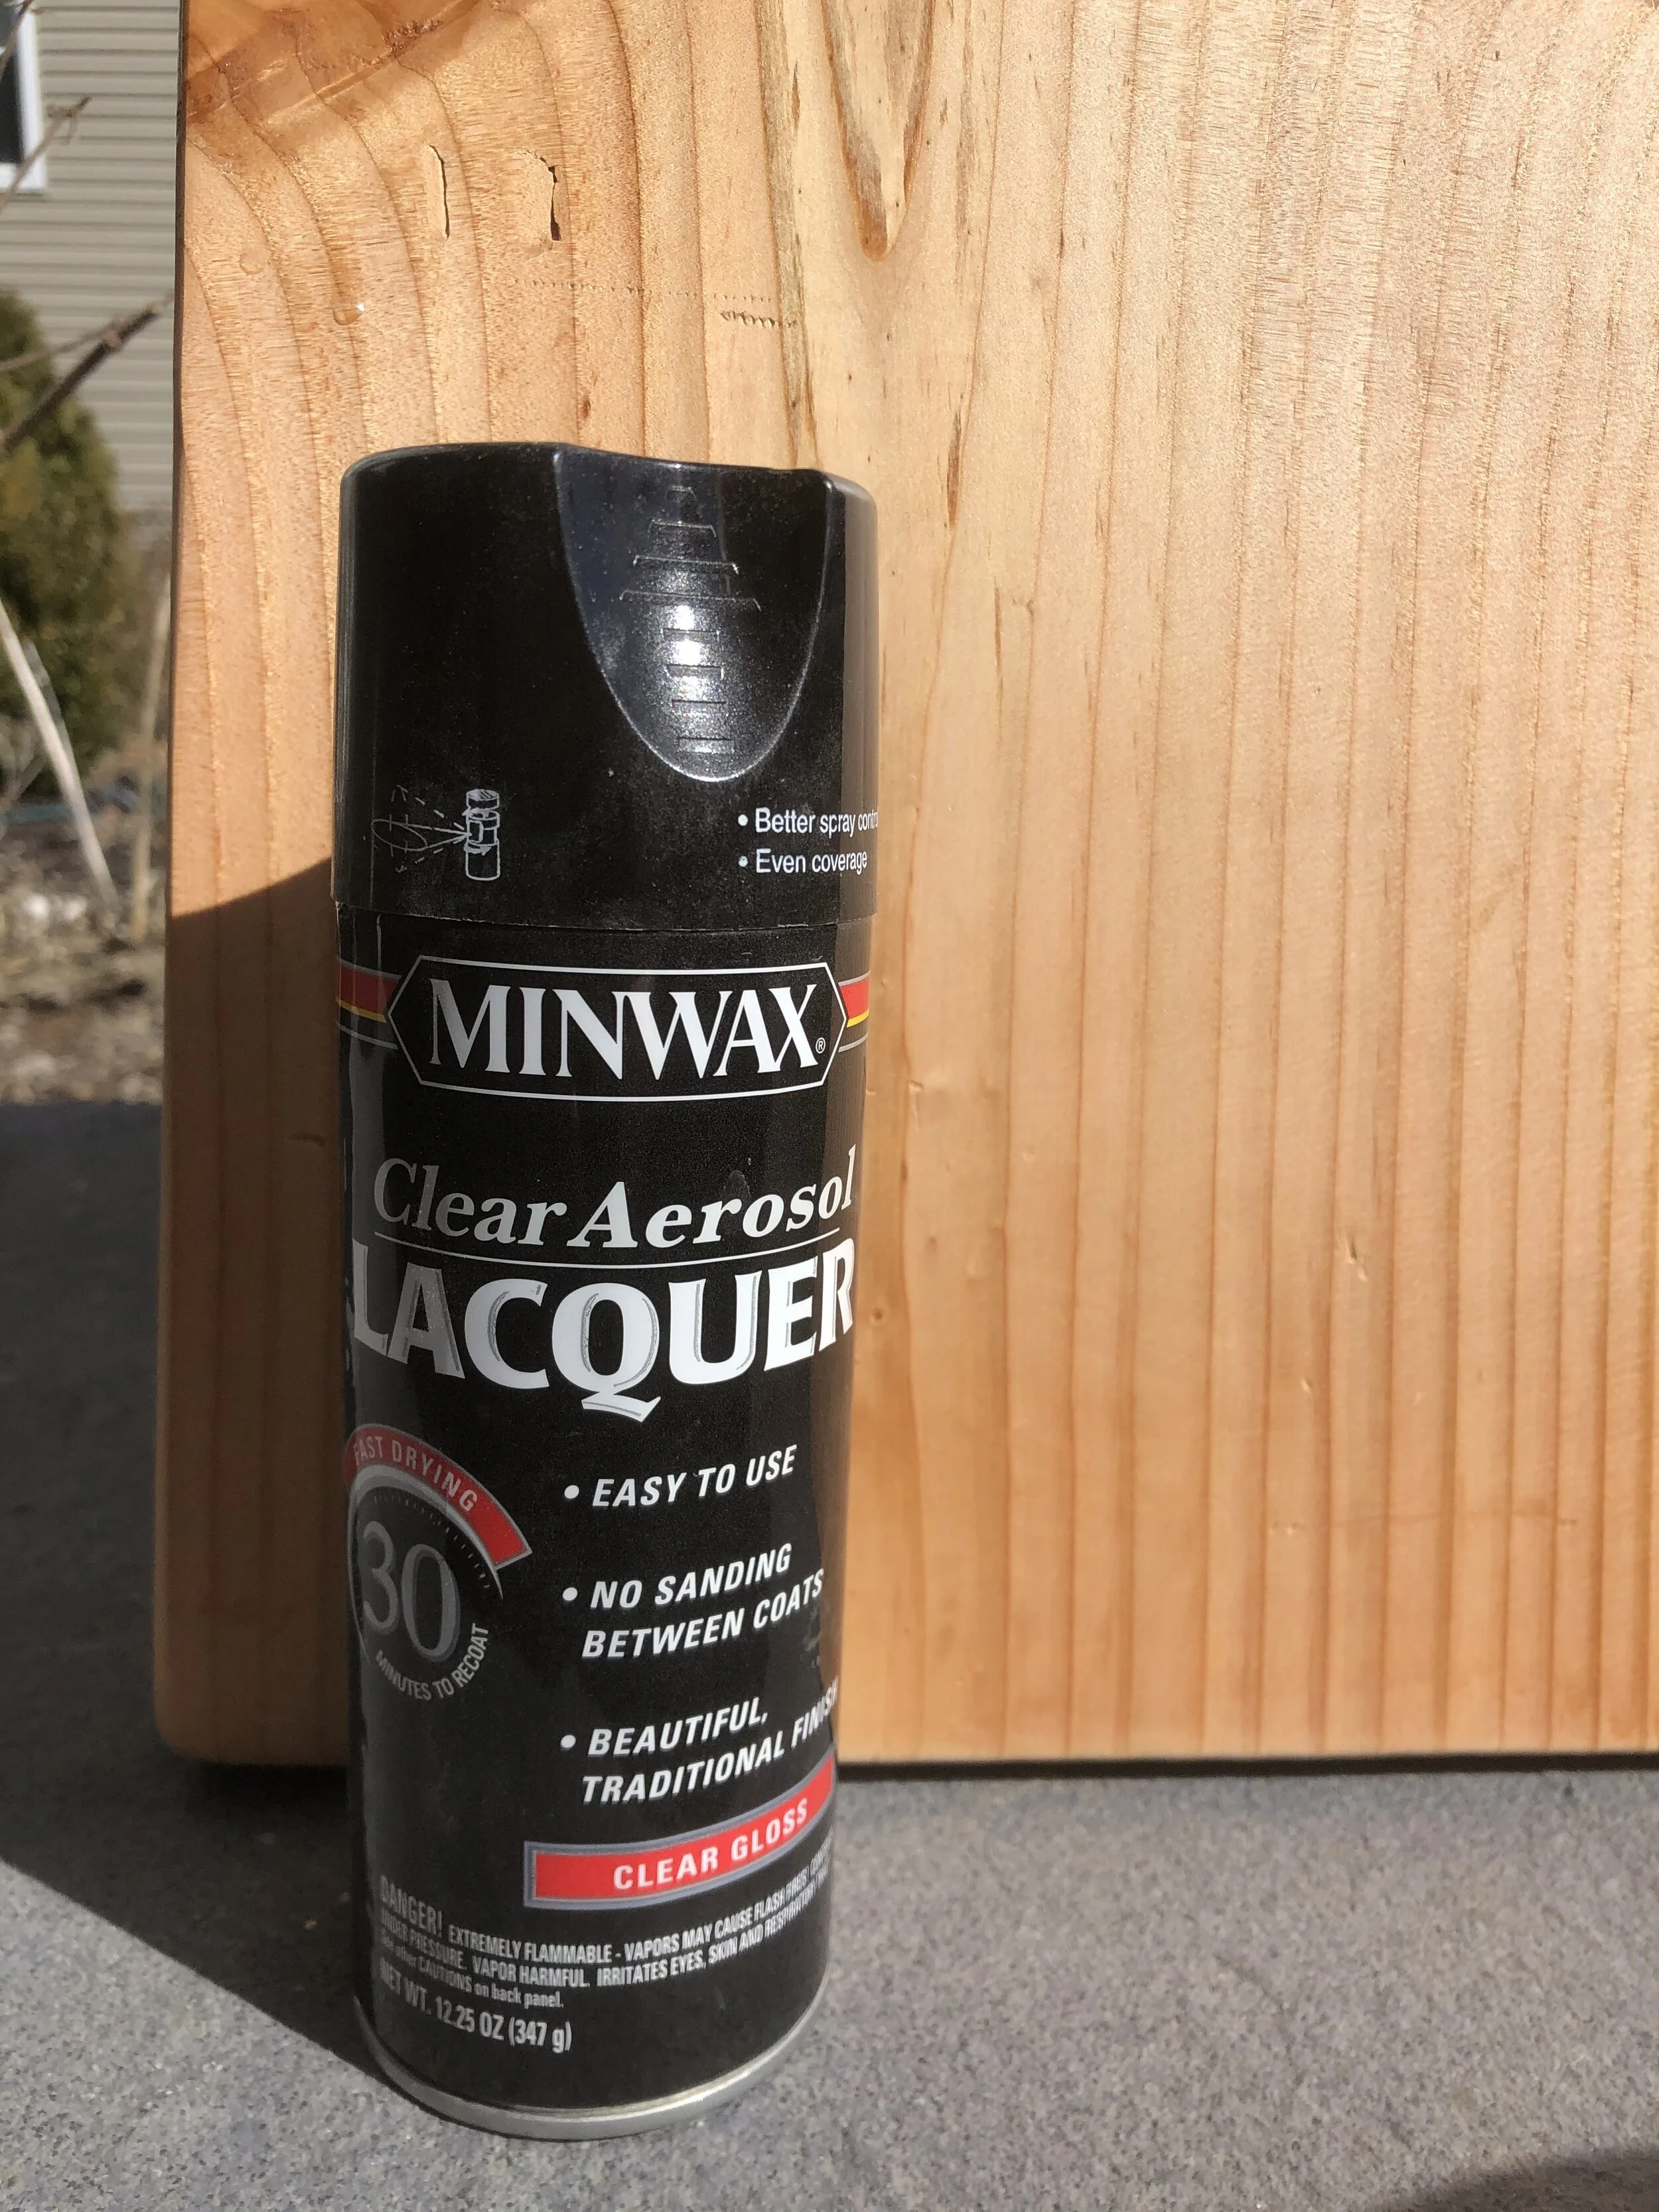
After ensuring that all the dust and debris were cleaned from the wood, I began with the first of three coats of lacquer. I chose this product because it dries quickly and does not require sanding between coats. I allowed at least 30 minutes of dry time between coats, as instructed on the label. After three coats on both sides as well as the ends, I allowed the board to sit until fully dry.
Finally.
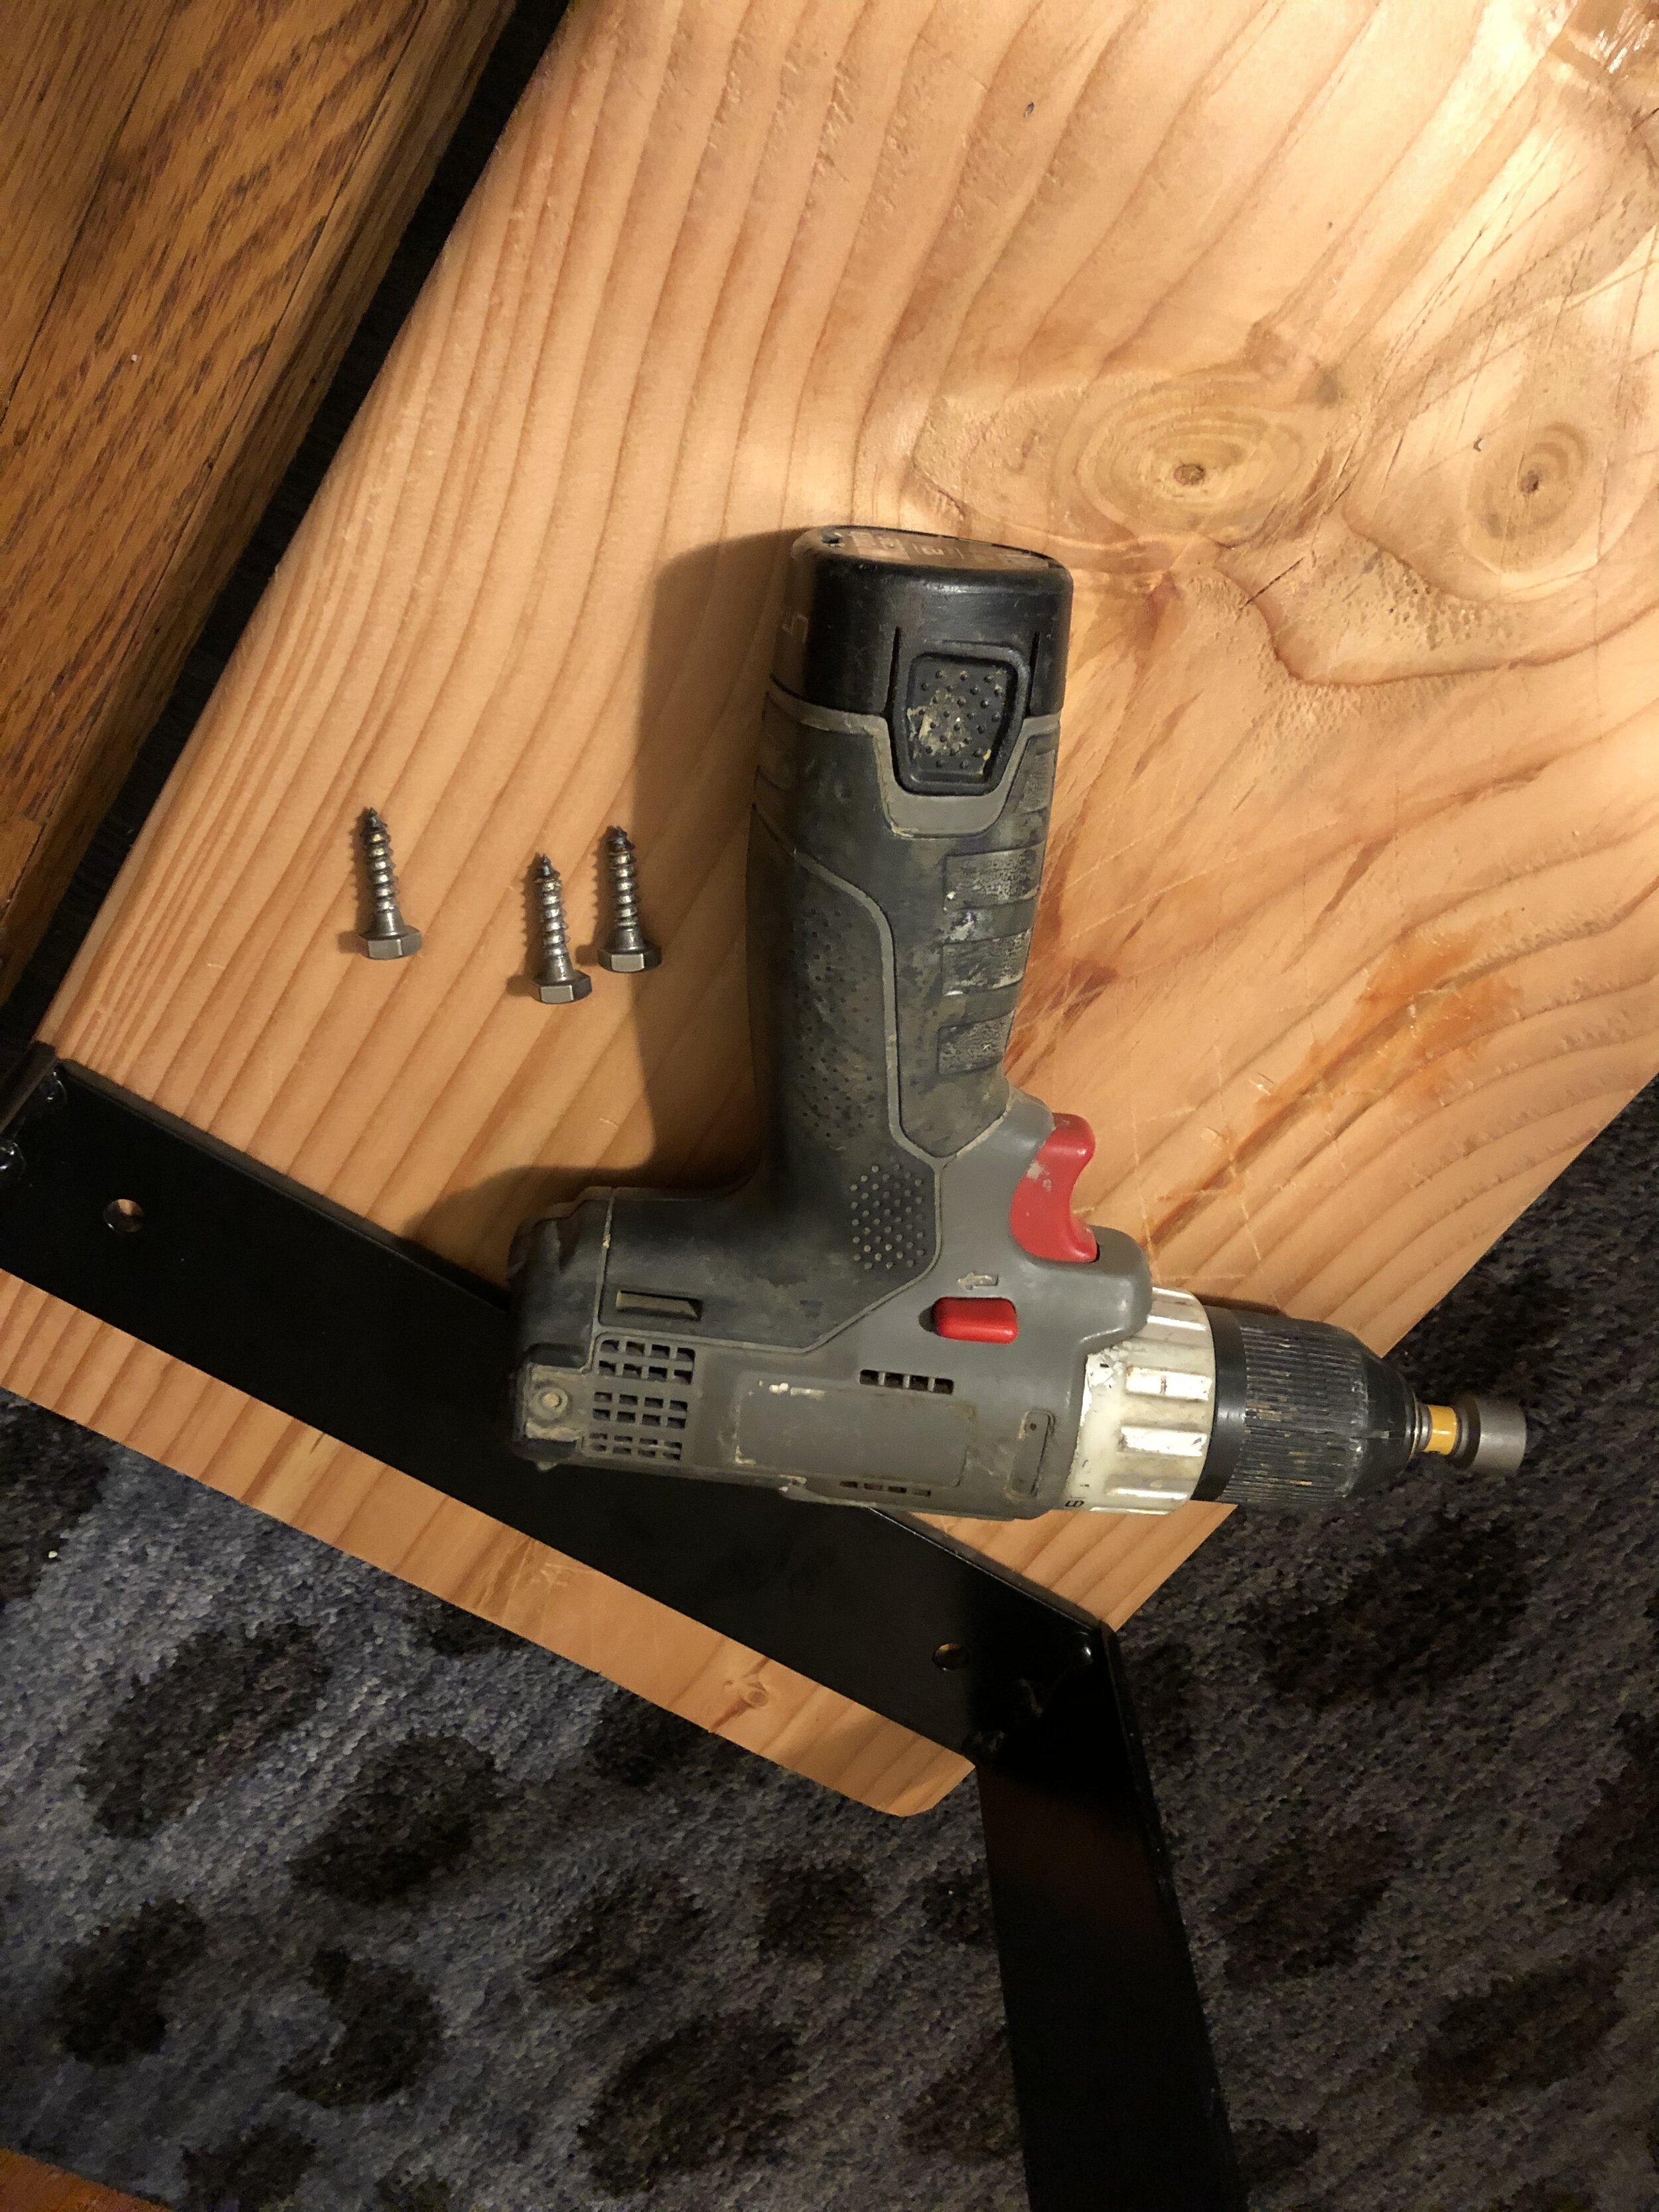
I located the side with imperfections as the drilling site for the legs. The legs I chose attach from underneath, so only the top with the nicer finish will be apparent. I chose the positions I wanted for the legs and then drilled all three screws into the wood, starting with the middle screw of each leg so I could adjust as needed.
The End.
Just add plants!