
Drilling Drainage Holes.

A gorgeous decorative pot gets me every time. My wallet and my sense tell me to buy the classic terra-cotta pot hidden away in the corner, matching saucer and all…but my eyeballs and my creative spirit tell me I need that $40 decorative pot in all its handmade splendor - even though there isn’t a drainage hole in sight. It’s kind of like the broccoli vs. ice cream conundrum. The broccoli is good for me with all of its vitamins and minerals, but the ice cream tastes delicious and it has colorful sprinkles. Decorative pots are like the colorful sprinkles of the potting world, and how can I say no to that? Sometimes I can’t, and I don’t. I can deal with the occasional budgeted spurge here and there if it means I can bring home a fun pot. What I can’t deal with is the fact that these decorative pots that’ll add that perfect dash of pizazz to my space have no drainage holes. Each and every one of my plants has been chosen carefully and intentionally, and I’m not about to mess around with the risk of a plant fatality…not even for a gorgeous pot. Admittedly, I am not always in control when decorative pot lust sets in, so I might already have tons of these drainage-free decorative pots in use throughout my home. Every time watering day comes, I blanch at the thought that this might be the time I slip and add too much water into the pot of my drainage-less Rhipsalis Pilocarpa. It’s just too anxiety provoking for a plant fiend to digest, and I had to recognize that the time for living a drainage free life has passed. So, I started thinking about some possible remedies for this situation. How can I have the best of both worlds? I haven’t been living under a rock, so I know that drilling your own drainage hole isn’t exactly the newest DIY project on the block. It’s new to me, though and that makes me think it might be new to others out there, too. This one’s for you (and me). My tools were pretty simple. A trusty Porter Cable drill that has seen me through many a DIY project, some eye protection - trust me on this one, you might even want some ear protection because I’m pretty sure a roomful of screaming banshees would make less noise than this project, and my new drill bits. I ordered a Neiko Diamond Hole Saw Set from Amazon. Of course I already had a whole host of pots waiting in line, so there was no need to buy any new pots (unfortunately).

I chose this set for a few reasons. First, these drill bits are specifically made for use with glass, ceramic, marble, slate and tile. Also, I like the hollow shape of these bits over the sharp point of some others I saw. I couldn’t visualize myself safely holding a sharp point against the pot. In fact, I visualized myself sending a pot flying across the room because the pointed tip wouldn’t catch. Finally, I liked how the Neiko bits are textured, almost like metal sandpaper, so I felt more confident that the bit would catch the surface of the pot rather than sending it flying.
I ended up using the two largest bits, the 1/2” and the 3/8” for drainage holes. The 1/2” bit is nice for the larger pots, and I used the 3/8” for some of the smaller pots, 6” and under. I use a soilless mix with various amendments for most of my plants, and both of these sizes allow water to escape, but not clumps of my potting medium. I’m currently working on another project that involves hanging art on a brick wall, so I'm using the two smallest bits, the 1/4” and the 5/32” for that.
There really aren’t a lot of steps here. I inserted the bit in the size that felt right for the pot, turned the pot over, and began drilling. The first thing I noticed is that my expectations were way off. I have no idea why, but I thought this would be as quick as drilling a screw into the wall. I know now that it isn’t like that at all, and for good reason. It takes a little more patience and control, at least the first few times until I got the hang of it. This bit it basically sanding its way through the pot rather than chipping away at it. It creates an accumulation of dust as it travels through the pot, so working outside might be a good idea. I was fine working inside for the small pots, but when I got to the larger ones, I ended up working outside for both the dust and the noise. There’s a high pitched squeal as the drill sands its way through, and though I tried to finagle the drill into different positions that might mitigate the sound, I eventually just accepted it as part of the process. I started with my smaller pots.

After the first pot, the next two were easier. I felt confident that the pot wasn’t going to go flying across the room or break under the pressure of the drill. I ended up drilling holes in four pots.


I learned that it’s a little easier to drill down from inside the pot if you’re working with a shape and size of pot that’ll accommodate the size of the drill. It was easier to apply pressure as needed. Originally I wanted to drill from inside because I was afraid that the moment the drill pushed through, it might break or chip the pot. That didn’t end up being an issue.
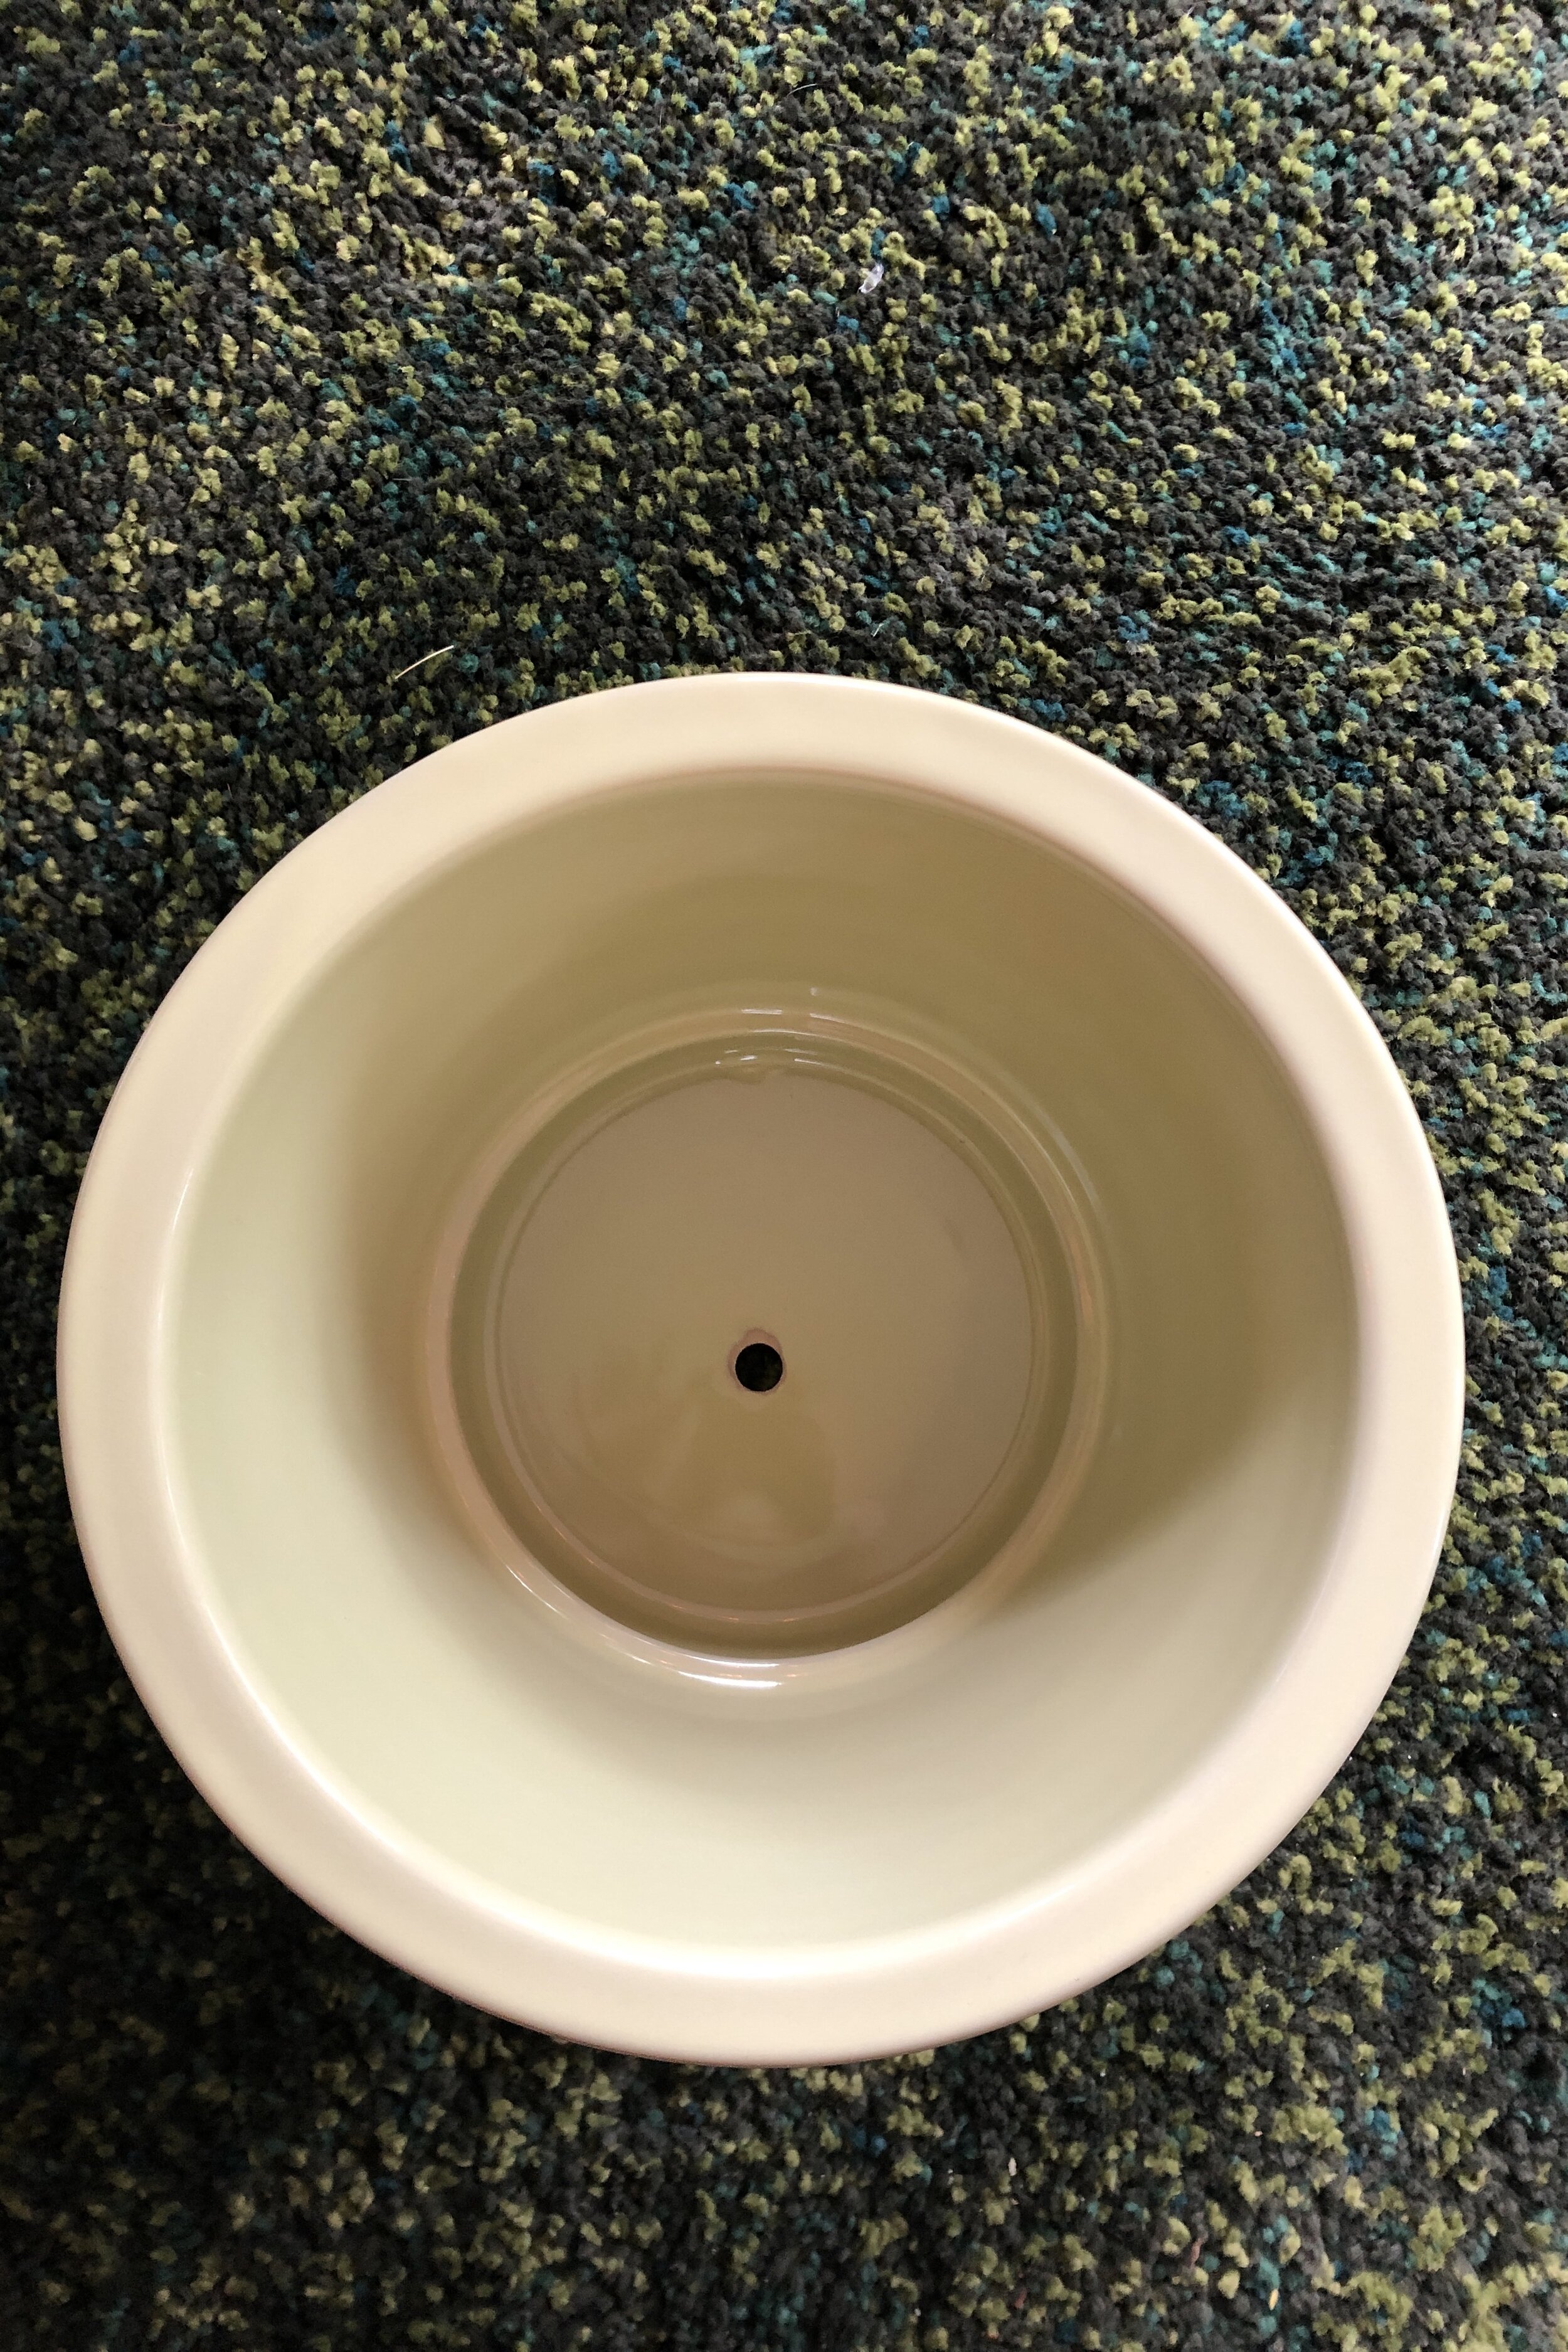
No pots were broken in the process of this project, but there were some points worth mentioning. The bit is basically sanding its way through the pot, so a steady hand is crucial. Here’s an example of the dust on my IKEA Bergamot pot.

It sounds like NBD, but the drill really wants to bounce around. It’ll skip and hop on the surface of the pot until it finally catches and then it’s easier to put some weight onto the drill and make more progress. The pressure needs to be constant and as consistent as possible. I definitely felt it in my arms the next day. Even though I didn’t enjoy that aspect of this project, it was definitely worth it for me in the end. I’m way less worried about my plants. I don’t think I can give up the hunt for decorative pots, so it’s nice to have this remedy. It makes me feel like I can avoid that pang of doubt next time I find an amazing decorative pot. I can confidently shove down that voice of reason that’s telling me, “HEY, you don’t need more plants and if you do buy them, at least put them in a pot with drainage.” TBH, I would have shoved that voice down either way, but now I don’t feel as bad about it.
I’m nowhere close to being finished with the drainage-less pots that are already occupied by plants. I am going to stage a mass drilling and repotting party, because it’ll just be easier and more refreshing than doing them one at a time, knowing in the back of my mind that there are still plants out there in the ethers of my plant universe that could be drowning.
If you’re interested in drilling your own drainage holes, but don’t know where to start, here are the links to the items I used, excluding the pots. Click on the images to be taken to Amazon where you can find the same items shown on this page. Should you choose to make a purchase of either of these items, I may receive a commission at no additional cost to you.
Seiko Diamond Hole Saw Set 👇

Porter Cable Drill 👇

I love hearing about your projects! If you have drilled your own drainage holes, I want to hear all about it! Email me here or find me on Instagram!